Open topic with navigation
Attribute Management Screen
By using the Attribute Management screen in Web UI:
- Users can edit and configure existing attributes
- Users can efficiently manage how each attribute value should display and/or behave across all Web UI screens without requiring screen-by-screen setup by the Web UI designer
Using the Attribute Management screen
Once configured and mapped, the Attribute Management screen is displayed when a user has selected an attribute via navigation in the left panel, as shown in the Configuring the Attribute Management Screen section below. Three tabs display on the Attribute Management screen by default: Attribute Details, Validity, and Link Attribute.
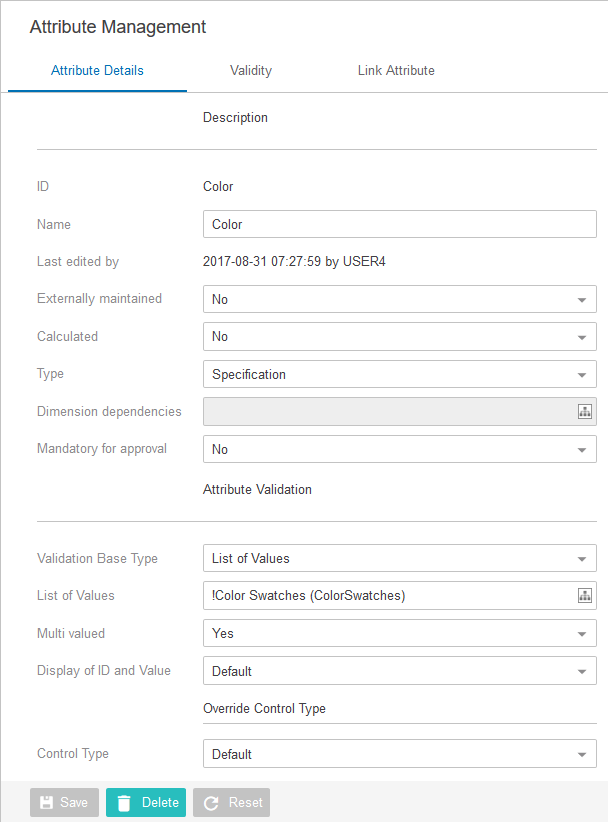
- Attribute Details tab: On this tab the user is able to edit and configure an existing attribute, and its default control type. Attribute definitions can be either configured or modified in this tab. For more information about managing the control types in Web UI, see the Override Control Type Rule section of the Main Properties Overview documentation.
- Validity tab: On this tab the user can configure which object types the attribute is valid for. The user can add or remove the desired object type using the standard configured actions – 'Add valid object types' and 'Remove selected valid object types.'
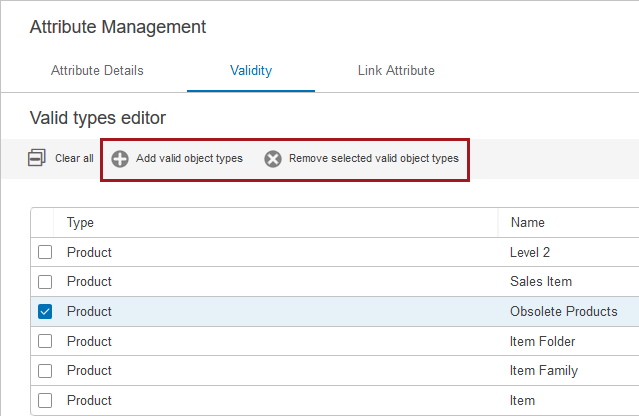
- To add valid object types, click on Add valid object types action and browse or search for the desired product object type.
- To remove selected valid object types, select the object types that need to be removed, and click on Remove selected valid object types.
- Link Attribute: On this tab the user can link the attribute to a product or classification.
Functionality available on each tab is comparable to what is available in the workbench, though some advanced configuration options may not be available in the Web UI. For more information on creating attributes, see the Creating Attributes section of the System Setup / Super User Guide documentation here. For more information on linking an attribute to a product, see the Linking Specification Attributes topic in the System Setup / Super User Guide documentation here.
Configuring the Attribute Management screen
Before configuring the screen, it is assumed that the general configuration described in the Attribute and LOV Creation and Maintenance Configuration section of the Web UI documentation (here) has been completed so users can access the screen via the stack panel.
To create the Attribute Management screen, follow the steps below.
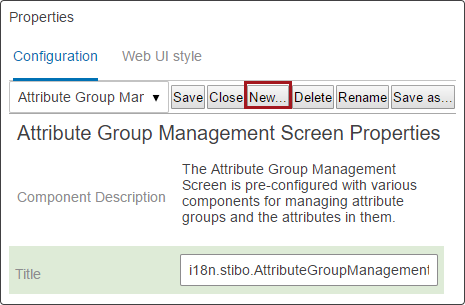
- In the Designer, click the New button.
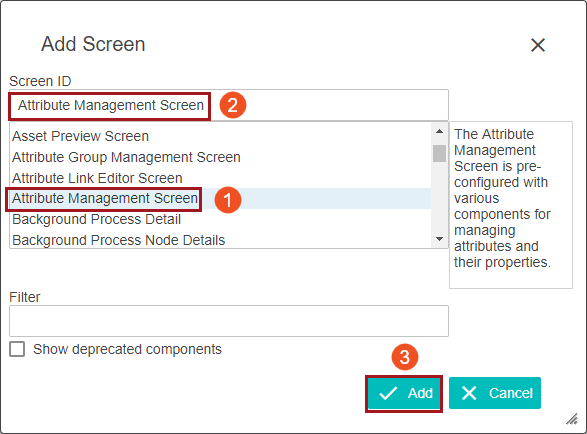
- In the Add screen window, find Attribute Management screen in the list of screen names. Select it and then, in the Screen ID field, type the name you would like to give this screen in your Web UI. Unless there’s a specific business need to change the name, it is simplest to copy the pre-configured screen name. Once the name's been added, click Add.
- The screen comes pre-configured with the required child components, so additional configuration is not required.
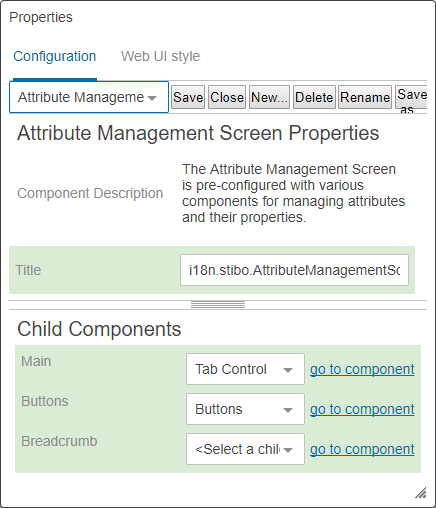
However, the screen is fully configurable and it is possible to add additional components, such as metadata attributes, using standard Web UI configuration options (e.g. addition and configuration of child components). Though possible, it is not recommended to remove the pre-configured components as it may compromise the user's ability to fully edit and maintain attributes.
- Finally, as with all new screens, it must be mapped using the Mappings parameter in the ---[MAIN]--- dropdown in the Designer. The screen can be mapped using the Object Type Condition and selecting the Attribute node (under Basic Object Types > Attribute Group).
2019, Stibo Systems – Confidential