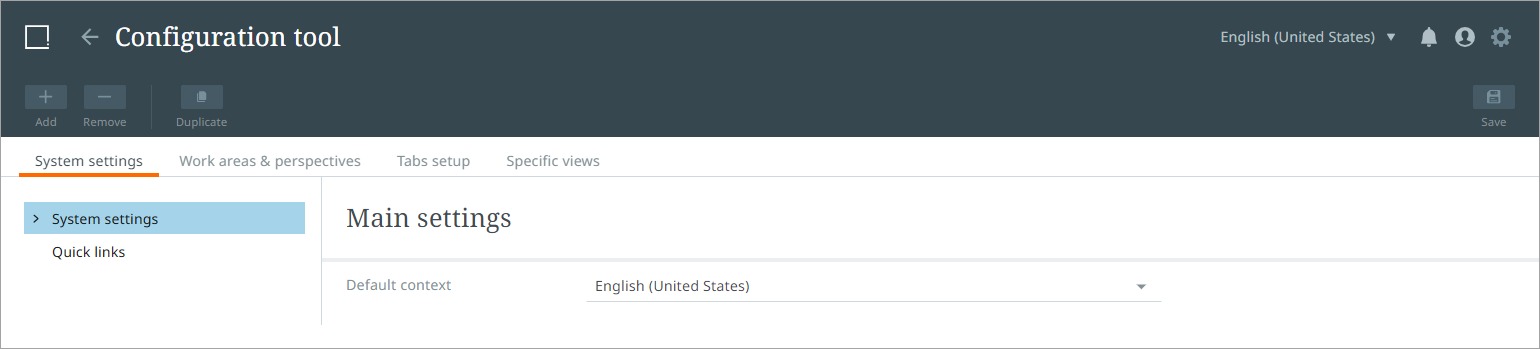
The Configuration tool 'System settings' tab allows admin users to select default contexts for new users and to configure quick links for fast access to other related systems.
To configure system settings, click the 'System settings' tab in the Configuration tool. On this tab, the admin user will be able to configure the default context and quick links.
Setting the Default Context
The default context is the context the New UI for STEP UI will be set to by default for all users. To set the default context for new users, follow the instructions listed below.
-
Click 'Main settings' in the navigation panel (you may have to expand the 'System settings' node to display it) and select the dropdown option next to 'Default context'
-
Select the desired context.
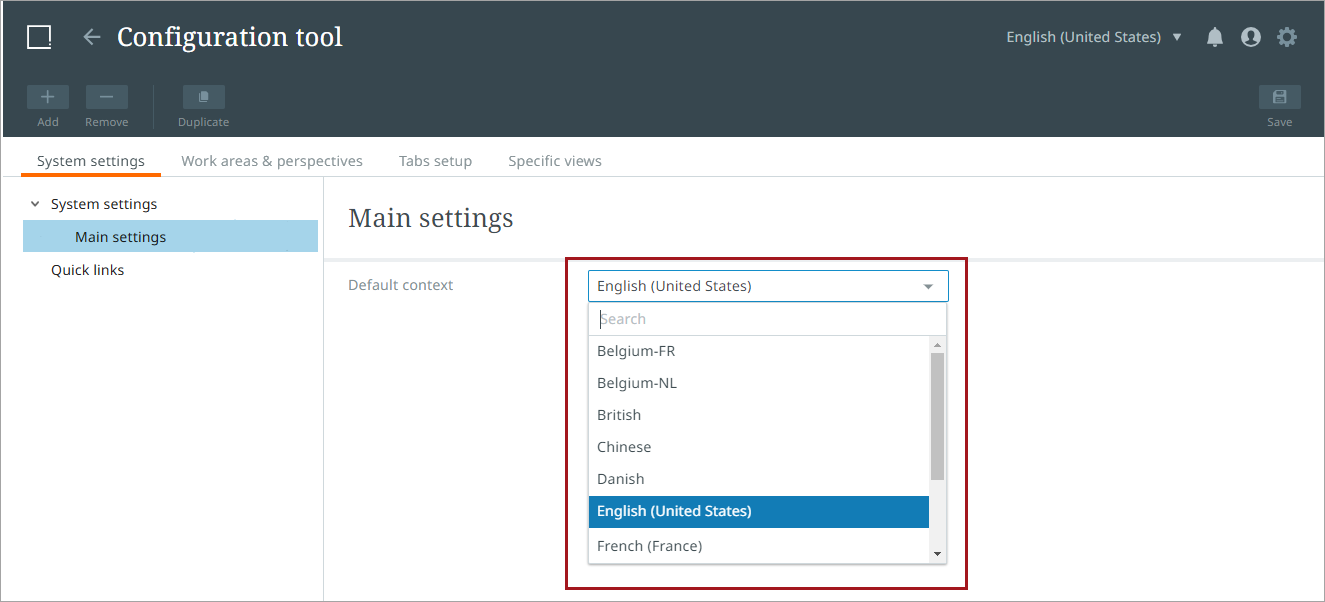
Once a context has been selected and changes have been saved, the selected default context will be the applied context for new users. Users can still select another context other than the default context. If a user selects a different context from the preset option, it will override the default context.
Note: Click 'Save' in the upper right corner to keep all adjusted settings.
Configuring Quick Links
Quick links are links to websites accessible via the quick links button in the utilities toolbar. All quick links are added into groups that the administrative user can name or leave unnamed. Links available at the bottom of the quick links dropdown are Stibo Systems-provided links; these cannot be configured or removed, but display of these links can be toggled off if desired.
To configure one or more quick links, follow the instructions listed below.
-
Click the 'General Settings' tab.
-
Select the 'Quick links' option from the navigation menu on the left side of the configuration tool.
-
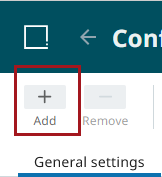
Click the 'Add' button in the upper left-hand corner of the screen.
-
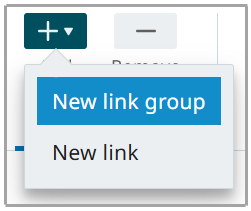
A short dropdown menu displays listing two options: New link group, and New link. Select the desired option.
-
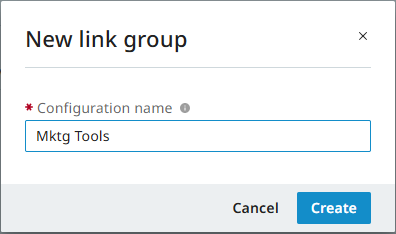
If adding a new link group, a 'New link group' dialog displays. In the 'Configuration name' field, add a name for the new quick link group's configuration. The name added is what displays for the link group in the configuration tool, but not in the quick links dropdown.
-
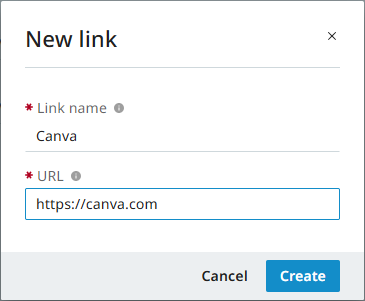
If adding a new quick link within an existing group, select the 'New link' option. A 'New link' dialog displays. Two fields display: 'Link name' and 'URL.'
-
• For 'Link name,' add the name of the website or system to which the URL will direct the user. The text added will display in the quick links dropdown.
• For 'URL,' add the URL for the desired website or system. Be sure to prepend 'https://' to the URL.
There are a few ways to add a new link group or a new link. If 'Add' is clicked when the 'Quick links' node is selected, the 'New link group' dialog displays. If 'Add' is clicked when a quick links group is selected, users can either create a new quick link or a quick link group. If 'Add' is clicked when a link is selected, a 'New link' dialog displays.
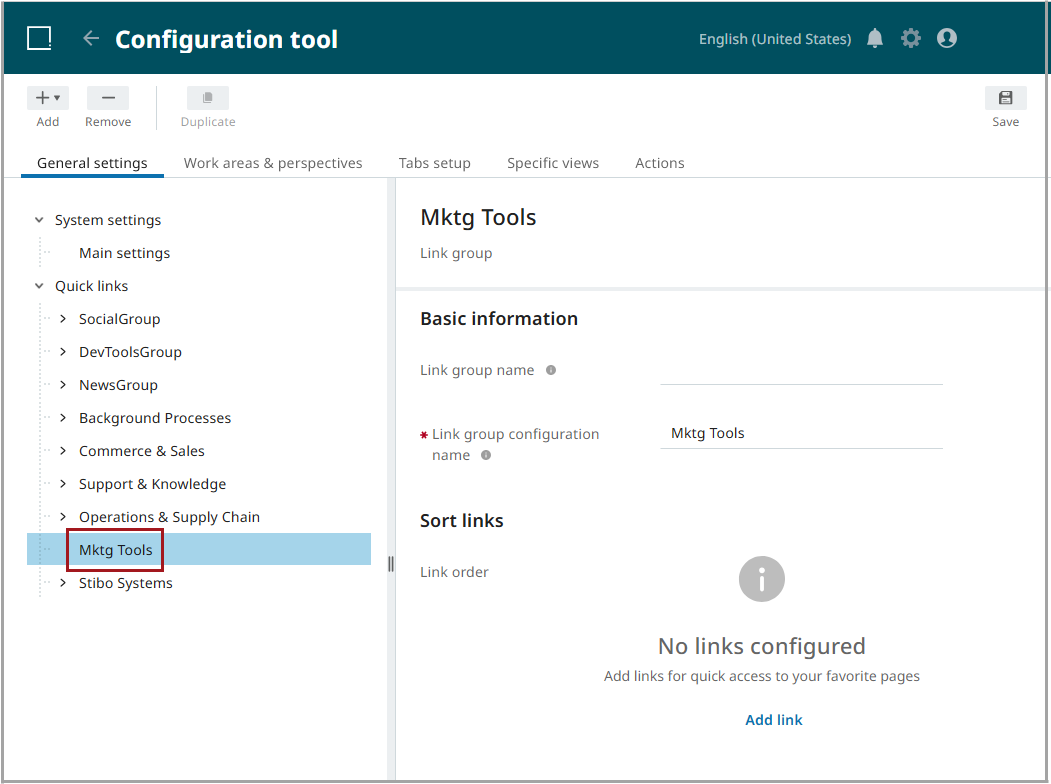
After adding a new link group, the configured link group displays in the left-hand side of the configuration tool as shown below:
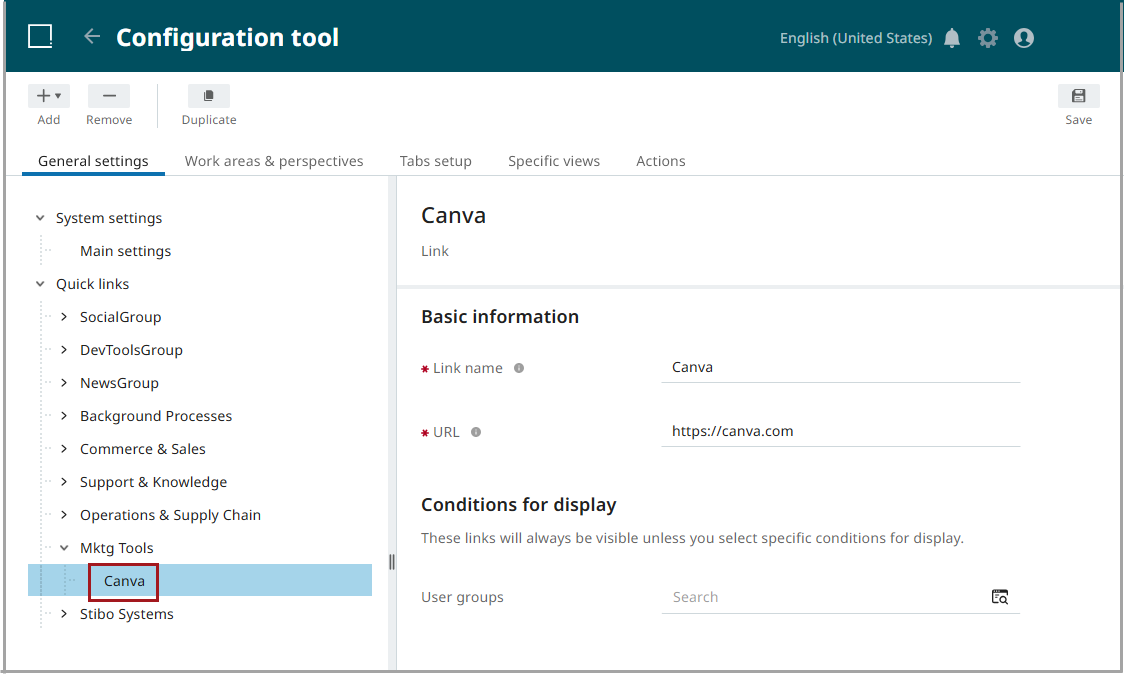
If adding a new link within an existing link group, the new link displays within the link group as shown below:
Configuring the Link Settings
The Link configuration page has two sections that allow for additional configuration to finalize the quick link.
Basic Information
In this section, the configured link name and URL display. These values can be edited as needed from the values provided when the link was first created.
Conditions for Display
In this section, there is the 'User groups' field. If you want to restrict which user groups are able to access this specific quick link, you can do so by configuring this picker.
-
Open the item picker by either:
-
clicking on the
 icon inside the field.
 -
clicking inside the field and then clicking the 'Open item picker' link.

For more information on the item picker, refer to the Item Picker topic.
-
-
Inside the item picker, select all user groups that should have access to the link when working in New UI.
If no restrictions should be placed on who can access the configured quick link, leave this field blank.
Toggling display of Stibo Systems-provided links
To turn off display of Stibo Systems-provided links in the configuration tool, follow the instructions described below:
-
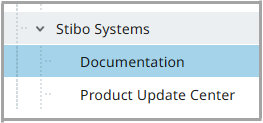
Expand the 'Stibo Systems' quick link group.
-
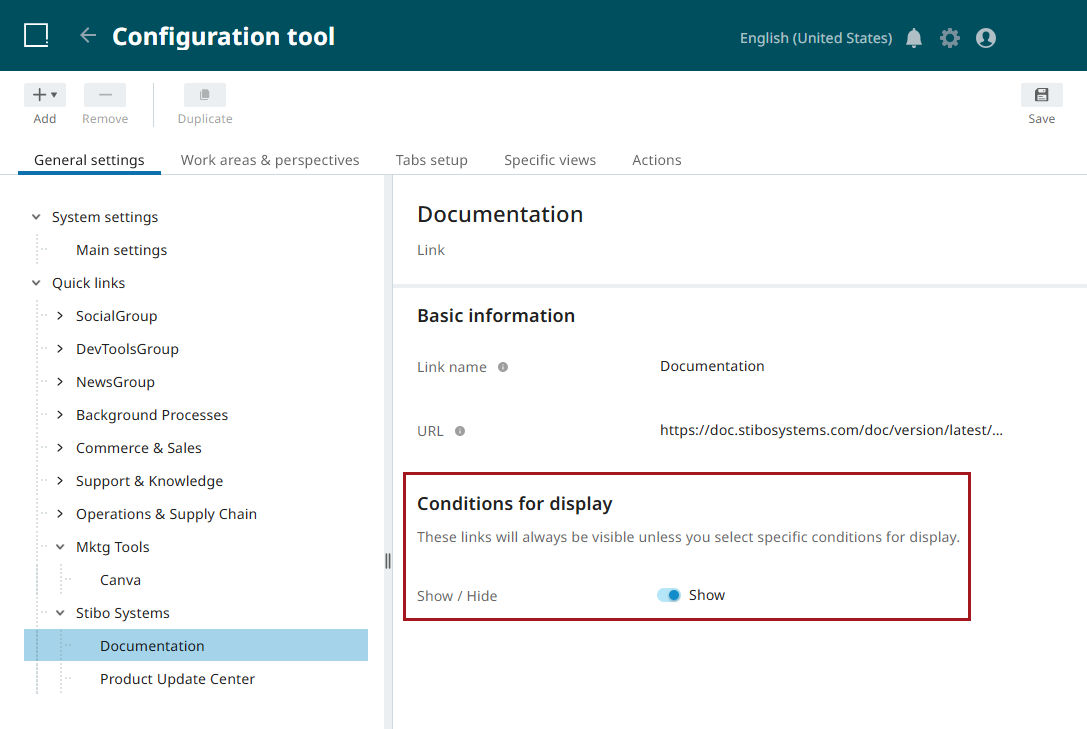
Click on the link whose display is to be turned off. At the bottom of the link configuration page, under the 'Conditions for Display' section, is a 'Show / Hide' setting. To turn off display of a Stibo System-provided link from the quick links dropdown, click the 'Show / Hide' toggle.
For more information on context and quick links, refer to the Utilities topic.