A one-time installation of a STEP Workbench Launcher is required on each client workstation before opening the workbench.
Note: The workstation administrator should install the STEP Workbench Launcher on the user's behalf.
To install the STEP Workbench Launcher:
-
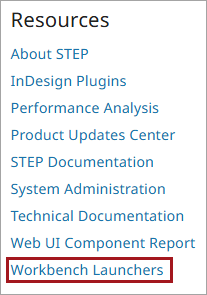
On the Start Page, click the 'Workbench Launchers' link.
-
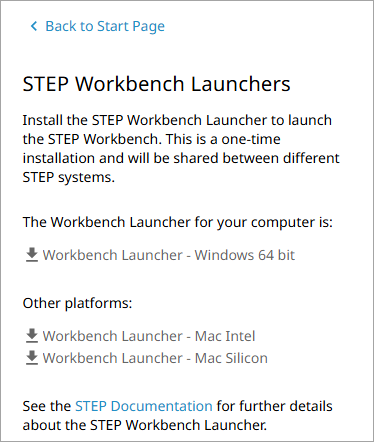
On the STEP Workbench Launchers page, choose the appropriate launcher to install based on your operating system. The installer applicable to the current workstation is shown first.
-
On Windows PC: select the 'Windows 64-bit' launcher
-
On Apple macOS:
-
Navigate to the Apple menu > About This Mac to determine your processor chip type
-
Select the appropriate Mac Intel or Mac Silicon launcher for your chip type.
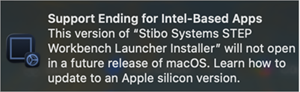
On Apple silicon Macs capable of upgrading to macOS 27, attempting to run the Mac Intel Launcher Installer displays the following macOS notification:
-
Note: Linux is not supported by Stibo Systems.
-
-
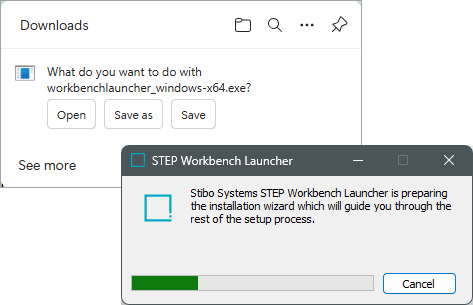
Once the executable file is fully downloaded:
For Windows, open the .EXE file:
On Mac, open the .DMG file and double click on the Launcher Installer icon. If necessary, click Open to allow the Launcher Installer app:
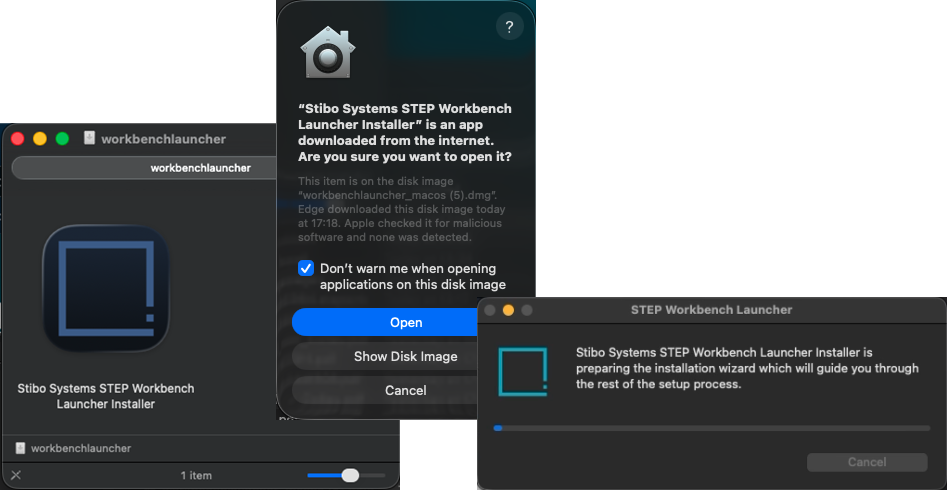
-
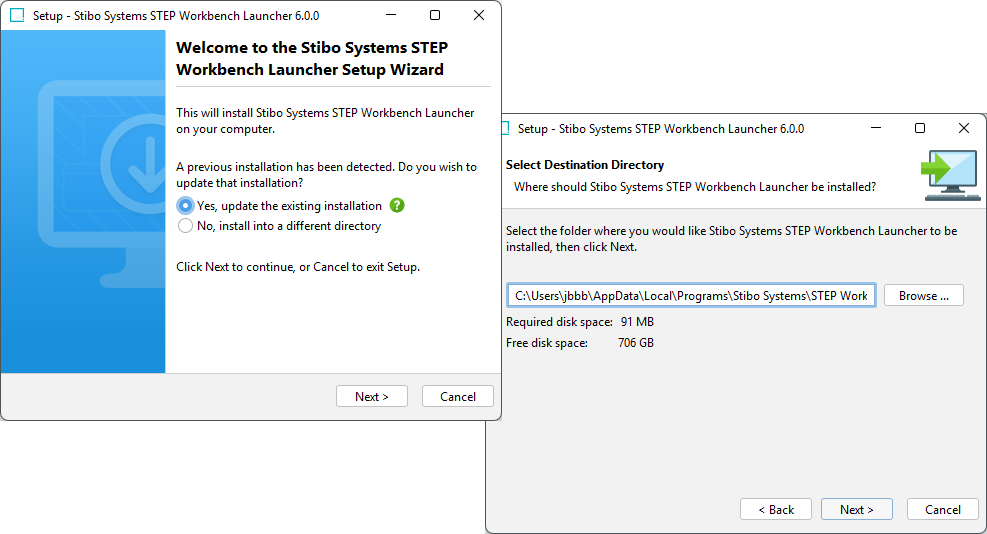
Follow the wizard, providing information where necessary, for example, to change the directory where the workbench launcher is installed.
Click 'Next' to advance the wizard or click 'Cancel' to stop the process and roll back the changes.
On Windows:
On Mac:
Note: By default, *.stepwrb files are associated with the STEP Workbench Launcher application. This allows opening the STEP Workbench efficiently without having to select the application each time you access the workbench.
-
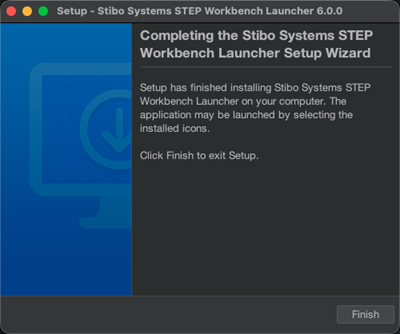
Click the Finish button to close the wizard.
On Windows:
On Mac:
-
Open the environment's Start Page and click an option in the Workbench section to open a workbench using the installed launcher.
STEP Workbench Launcher local configuration
When troubleshooting, Stibo Systems Support may require you to access the STEP Workbench Launcher local configuration properties defined in this section, which are set in the workbenchlauncher.vmoptions file.
Important: The original vmoptions file located in the STEP Workbench Launcher installation directory must not be modified.
If the file does not exist in the mentioned directory, create it and write each option on a separate line.
On Windows:
-
${HOME}/.step/workbenchlauncher/workbenchlauncher.vmoptions
Where ${HOME} is the user home directory. For example:
C:\Users\test\.step\workbenchlauncher\workbenchlauncher.vmoptions
On Mac:
-
/Users/test/.step/workbenchlauncher/workbenchlauncher.vmoptions
Refreshing *.stepwrb
Launching the STEP Workbench from the Start Page downloads a stepwrb file to the client machine. If the stepwrb file type is associated with the STEP Workbench Launcher, the application starts automatically.
By default, the STEP Workbench Launcher refreshes the stepwrb file while starting the Workbench. This allows the user to always work on the most recent version since the stepwrb file can contain additional configurations.
Disable automatic refresh
Occasionally, the refresh mechanism needs to be turned off, for example, to omit the token regeneration when the Workbench SSO is enabled. To disable the refresh, apply the virtual machine option below in the workbenchlauncher.vmoptions file:
-Dstibo.step.workbench.launcher.stale=true
Configuring the logging mechanism
The STEP Workbench Launcher creates logs for two processes:
-
STEP Workbench Launcher - in the launcher_*.log files with property handlers launcher-logging.properties.
-
STEP Workbench - in the workbench_*.log files with property handlers workbench-logging.properties.
Important: Valid incident reports cannot be generated if the property handlers or the java.util.logging.FileHandler.pattern are edited.
The logging configuration for each process is in the following directory:
${HOME}/.step/workbenchlauncher/