Open topic with navigation
Specifying a Business Action
Once a business rule exists, use the following steps to add a business action. For information on creating a new business rule, see the Creating a Business Rule or Library topic here.
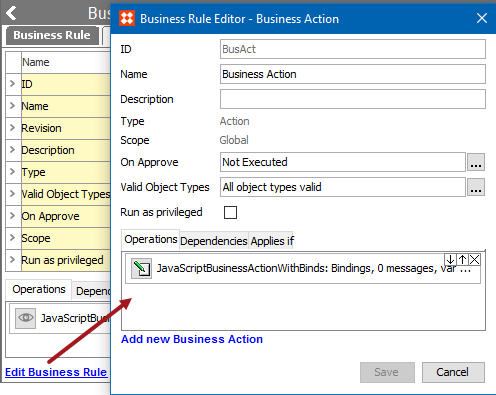
- In System Setup, expand the Business Rules setup group and select an existing business action to display the business rule editor.

- On the Business Rule tab, click the Edit Business Rule link to open the business rule editor for changes.
- In the Valid Object Type field, click the ellipsis button (…) to display the Select Valid Object Types dialog.

- Choose a radio button:
- None prevents the business action from running. This can be used to temporarily disable an action.
- All Object Types means the business action will run regardless of the object type. It is not recommended to use this option.
- Specify allows you to limit the object types that will cause the business action to run. Selecting Specify displays the Browse and Search tabs. Identify the desired object types and use the right arrow button
 to move the item to the right panel. Use the left arrow button
  to remove an object type from selection.
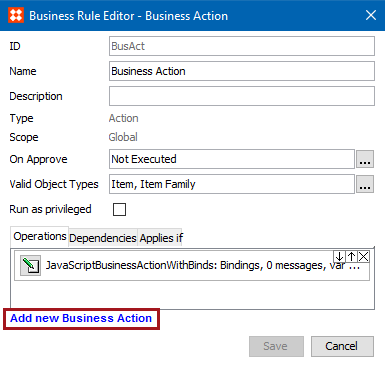
After selecting object types, click the OK button to save the changes.
- In the lower left corner, click the Add New Business Action link to add an additional operation.
- Click the Edit Operation icon for the newly added business action.
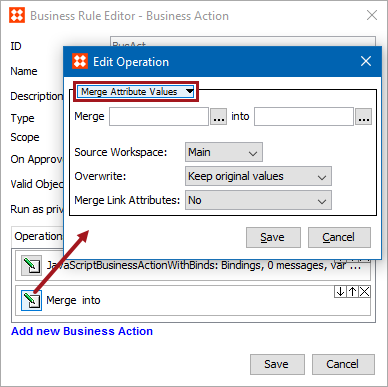
- In the Edit Operation dialog, use the dropdown list to select the preferred action. The actions are described in the Business Actions topic here.
- Click Save to save the changes.
- Add additional business actions as needed.
Important: When more than one action is specified, all actions are carried out when the overall business action is executed.
2018, Stibo Systems