Open topic with navigation
Image Conversion Configurations
Image conversion configurations define a group of image settings to be used during export to change the format, size, and/or color of an image. An image conversion configuration can also be used to ensure that the image is not changed upon export, meaning that the format, size, and color exported are identical to that stored in STEP.
After a one-time setup, an image conversion configuration allows a user to easily apply the same settings for multiple image exports. All methods of asset export allow selection of an image conversion configuration.
Creating an Image Conversion Configuration
- In the Tree, select a classification folder to store the new configuration.
- Click the Maintain menu > Insert > New Image Conversion Configuration to display the Create Image Conversion Configuration wizard.
- For File Format, Current ensures that upon export, no changes will be made to the format. If changes are necessary, select the desired image format. Click Next.
For details about the individual format options, see the Step 3 - File Format section of the Export Images and Documents Wizard documentation here.
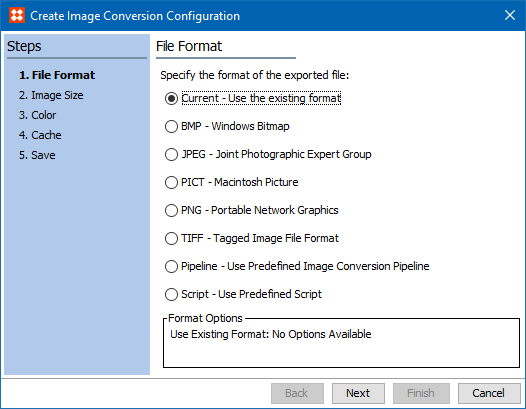
Note: The 'Keep Colour Profile Information' option available with some formats can override other selections made in the conversion configuration. If results of the conversion are not as expected, try disabling the selection (which is checked by default).
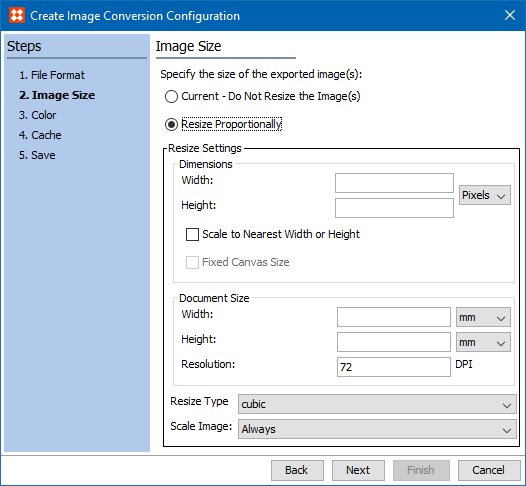
- For Image Size, Current ensures that upon export, no changes will be made to the size. If changes are necessary, select Resize Proportionally, and then specify the dimensions, document size, resize type, and scale image settings. Click Next.
For details about the image size options, see the Step 4 - Image Size section of the Export Images and Documents Wizard documentation here.
- For Color, Current ensures that upon export, no changes will be made to the color. If changes are necessary, select Change color Settings and specify the desired color mode. Click Next.
For details about the color options, see the Step 5 - Color section of the Export Images and Documents Wizard documentation here.

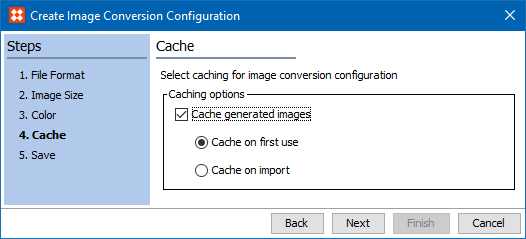
- For Cache, the checkbox enables the ability to cache, and the radio buttons determine when the caching will occur. Caching is available via the Export Manager or asynchronously based on events via the Image Cache event processor. For more information, see the Export Manager - Assets and Content with STEPXML section of the Digital Asset Exchange documentation (here) or the Image Cache processor section of the Creating Event Processors documentation (here).
- Cache on first use - the converted image is not cached until the first time it is accessed for viewing, exporting, or in an image preview.
- Cache on import - the converted image is cached when it is imported.
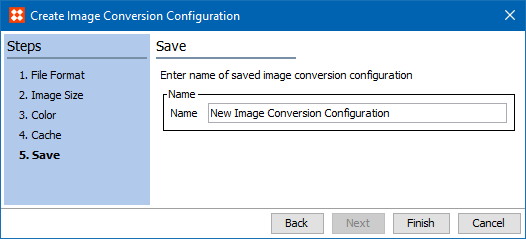
- For Save, enter a name for the Image Conversion Configuration. Click Finish to save the configuration in the originally selected classification folder.
Editing an Image Conversion Configuration
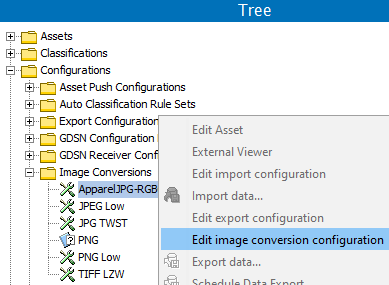
- In Tree, expand the classification folder that holds the image conversion configuration to edit, right-click the configuration, and select Edit Image Conversion Configuration.
- Use the Edit Image Conversion Configuration wizard to modify the configuration settings. appears. The options are identical to those in the Create Image Conversion Configuration wizard.
2017, Stibo Systems