Dun & Bradstreet Integration in Web UI
Dun & Bradstreet (D&B) integration allows customers to use the Web UI for matching and detailed company profile enrichment once all setup is complete.
- For matching, the Web UI must be configured with a Status Selector (Homepage / Sidebar) Widget for the D&B Match Candidate workflow. Also, a D&B Candidate Matching screen must be created, configured, and made accessible. This setup / process is used when an organization entity (customer record) has multiple D&B organization entity (D&B record) match candidates.
- For detailed company profiling, it is not necessary to create a Status Selector. Recommended practice is to initiate objects into the D&B Detailed Company Profile workflow using a bulk update, an automated business action rule, or by placing an action button on a node editor screen.
Prerequisites
This section of the D&B integration requires an understanding of the Web UI, how to create screens and widgets, and the necessary user permissions to do so. See the Web User Interfaces documentation (here) for more information on these topics.
Additionally, users should be familiar with the D&B integration setup and processes. For more information, see the Dun & Bradstreet Integration section here.
Creating a New D&B Match Candidates Screen
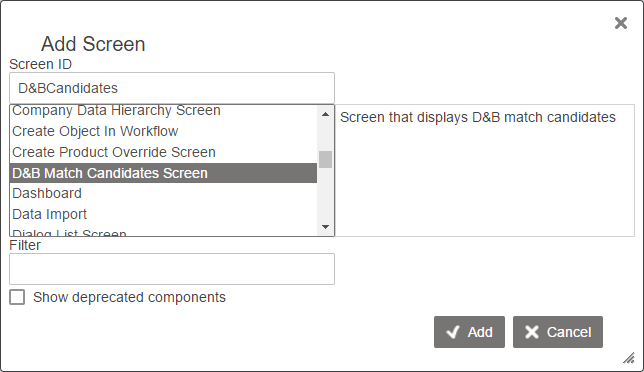
- From the Web UI designer, select New.
- From the Add Screen prompt, select the D&B Match Candidates Screen option from the list then select Add.
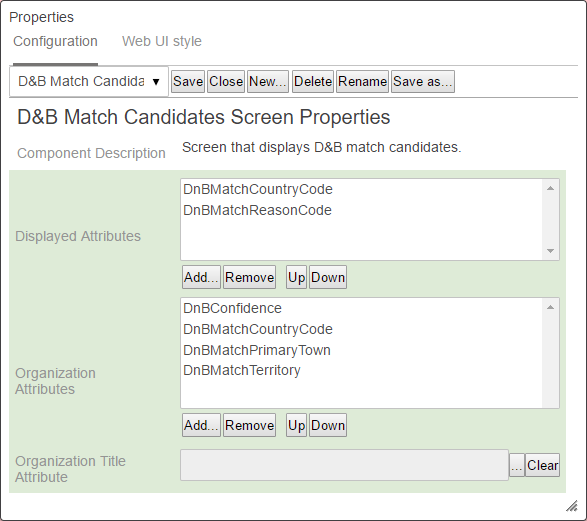
- On the D&B Match Candidates Screen Properties configuration, select the desired attributes for both the Displayed Attributes and Organization Attributes parameters by choosing Add.
- The Displayed Attributes are the titles of the attribute columns that will be included with the Confidence score, DUNS number, and Name of the D&B record within the task list on the screen.
- The Organization Attributes are for the current organization entity and appear above the task list.
- Click the ellipsis button (
 ) to make an Organization Title Attribute selection.
 - When configured as desired select Save then Close to exit design mode.
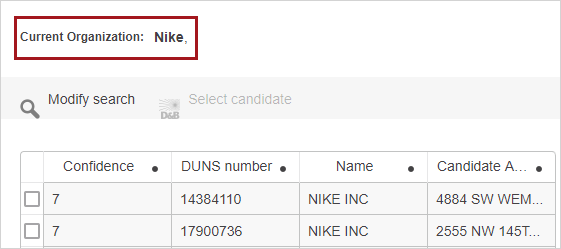
If configured correctly, the attributes selected in step 3 will appear on the screen as shown in the next image.
Before you can use the D&B Match Candidates Screen, you need to configure how a user will access the screen. This is done by mapping a Workflow Condition within the mapping field in Main Properties. Details on how to do this can be found in the Mapping Workflow States in Web UI topic of the Workflows in Web UI documentation here.
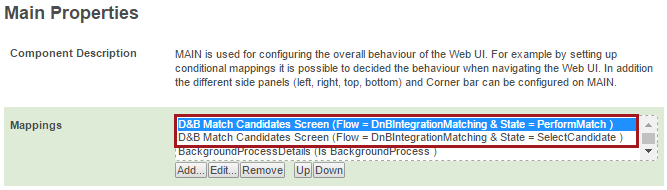
Each state of the D&B workflow will have a Workflow Condition, and the screen that you are selecting within the Screen Mapping Properties is the screen you just created.
Adding and Configuring a D&B Workflow Status Selector Homepage Widget
To process a customer record for matching to D&B data, the record must go through the D&B Integration Matching workflow. To access tasks for this workflow, a Status Selector Homepage /Sidebar widget is needed.
The directions for setting up a Status Selector Homepage widget are outlined in Getting Started with Workflows in Web UI > Screen / Component Configuration and Mappings for Workflows documentation here.
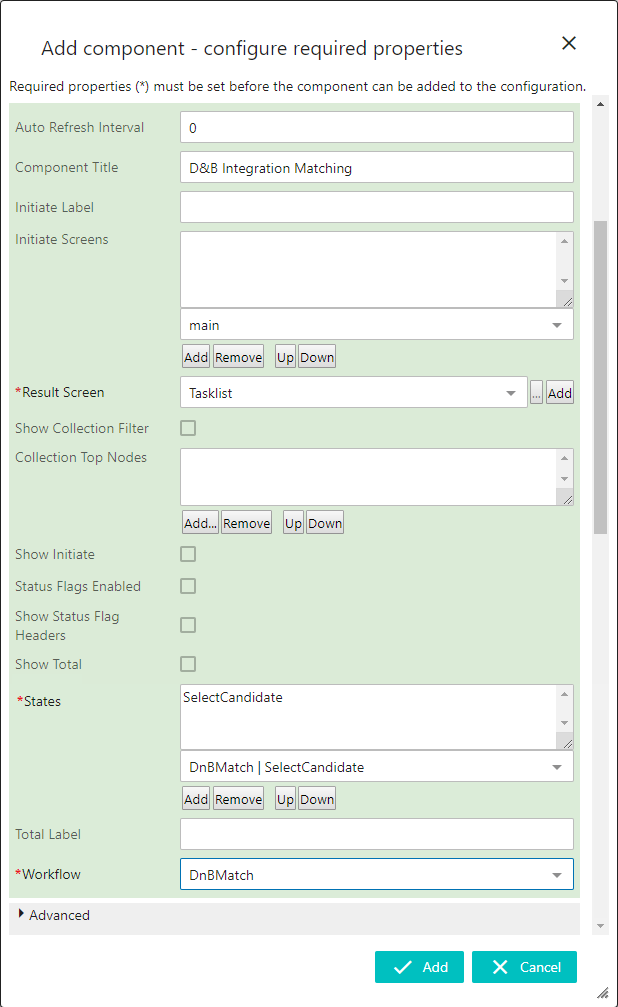
For this example, we are adding the D&B Integration Matching workflow to the Web UI Homepage via a Status Selector Homepage widget. Configure the widget as desired. The next screenshot is an example of how this implementation may look. Select add when the widget is configured as desired.
Required parameters that must be selected to save the Widget Properties and use the functionality:
- Results Screen: select the screen ID for the Task List screen to be used.
- States: add the states for the applicable workflow.
- Workflow: select the ID of the applicable workflow. For D&B integration, select DnBIntegrationMatch Candidate.
Select Save and then Close to exit the Web UI designer.
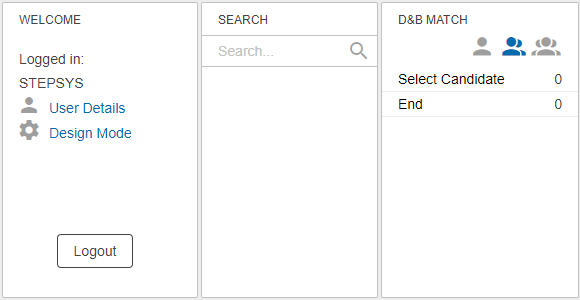
After the Web UI refreshes, the widget will now appear on the home screen of the Web UI.
Using Web UI for Dun & Bradstreet Integration Matching
Customer records enter the D&B Match Candidate workflow via standard methods. An individual customer objects can be initiated in bulk or individually via Web UI or Workbench. You may want to add a business action button on a Node Details screen to initiate objects when looking at the details of the customer record. Initiating records is not covered in this topic but is a necessary step before you are able to work with tasks in the workflow.
This is a basic example of how a STEP user would use the D&B Integration Matching functionality. True functionality depends on the customer setup.
Perform Match
- A user clicks the Select Candidate state within the D&B Match Candidate status selector.
- Upon arriving at the Task List, the user selects a customer by clicking on the ID or Title link within a row.
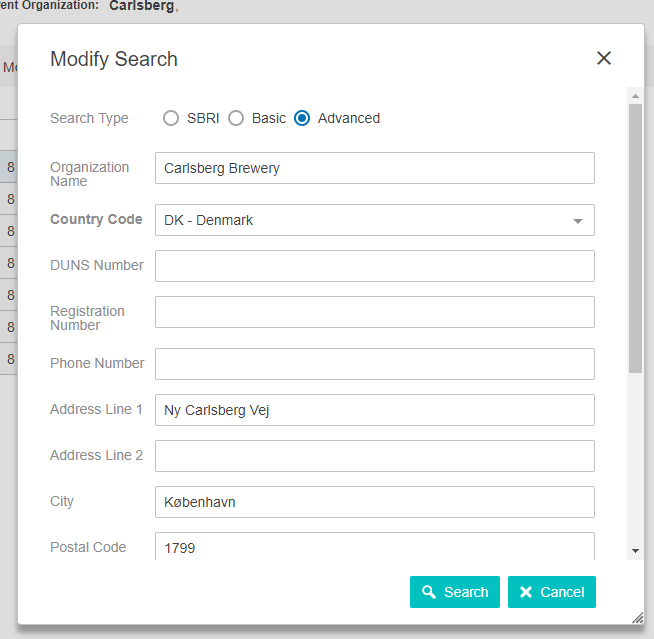
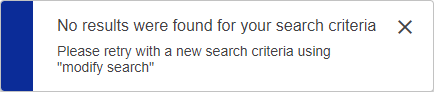
- A search is performed. The results list shown, determined by a D&B algorithm used to match the D&B records to the customer. If no candidates are found, a message will display, and users can click the 'Modify search' icon on the screen to edit the search.

Select Candidate
- A user clicks the Select Candidate state within the D&B March Candidate status selector. If doing a search above, the Select Candidate button should be available without switching screens.
- Upon arriving at the Task List, the user selects a customer by clicking on the ID or Title link within a row.
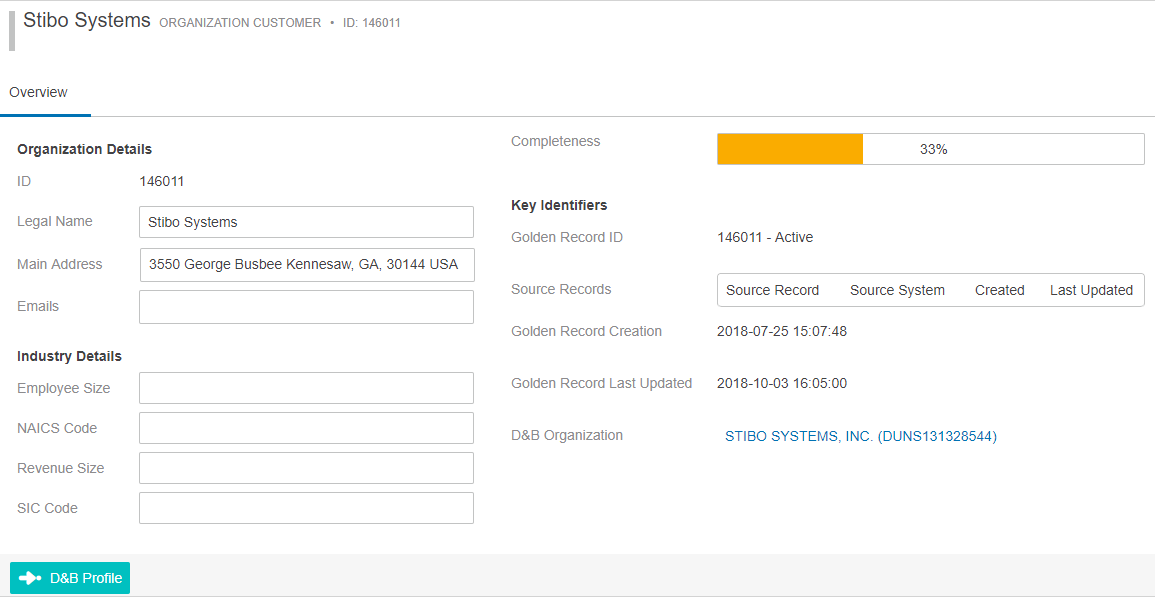
- The D&B Match Candidates screen is displayed, and the user can compare customer record information with the D&B records list shown.
- The customer record information will display above the results list. The information displayed is determined by the Displayed Attributes selected on the D&B Match Candidates Screen Properties.
- The D&B records are shown in a table with the Confidence, ID, and Name columns displayed by default. Any other columns are determined by the attributes designated within the Organization Attributes field of the D&B Match Candidate Screen Properties.
- A candidate selection is made by clicking the checkbox at the beginning of the D&B record row, and then, clicking the 'Select candidate' button above the table. Only one candidate can be selected.
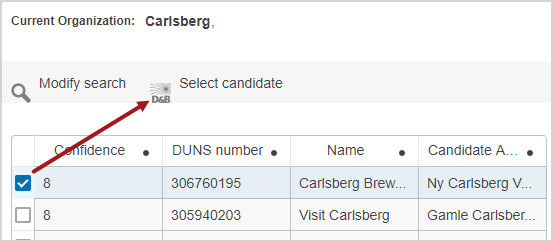
- Users will see a message on the screen confirming a candidate selection:
Note: It is important to note that if any matching errors occur during the process, a user must handle those tasks, accessible via the 'Matching error' state.
Using Web UI for Dun & Bradstreet Detailed Company Profile
Once a customer entity is linked to a D&B record, detailed company profiling can take place if you have the API license key and password from Stibo Systems and have input it in the easy setup wizard in the workbench.
If you are doing detailed company profiling via the Web UI, you can add a button to a Node Details screen that runs the D&B Detailed Company Profile Request business action. This allows users to click a button to start the profiling process.

Alternatively, you can push the task through the workflow with the submit action within a Task List.
For more details about workflows, see the entire suite of topics in the Workflows in Web UI documentation here. You will find information about widget setup, moving tasks through workflows, and initiating objects in a workflow.