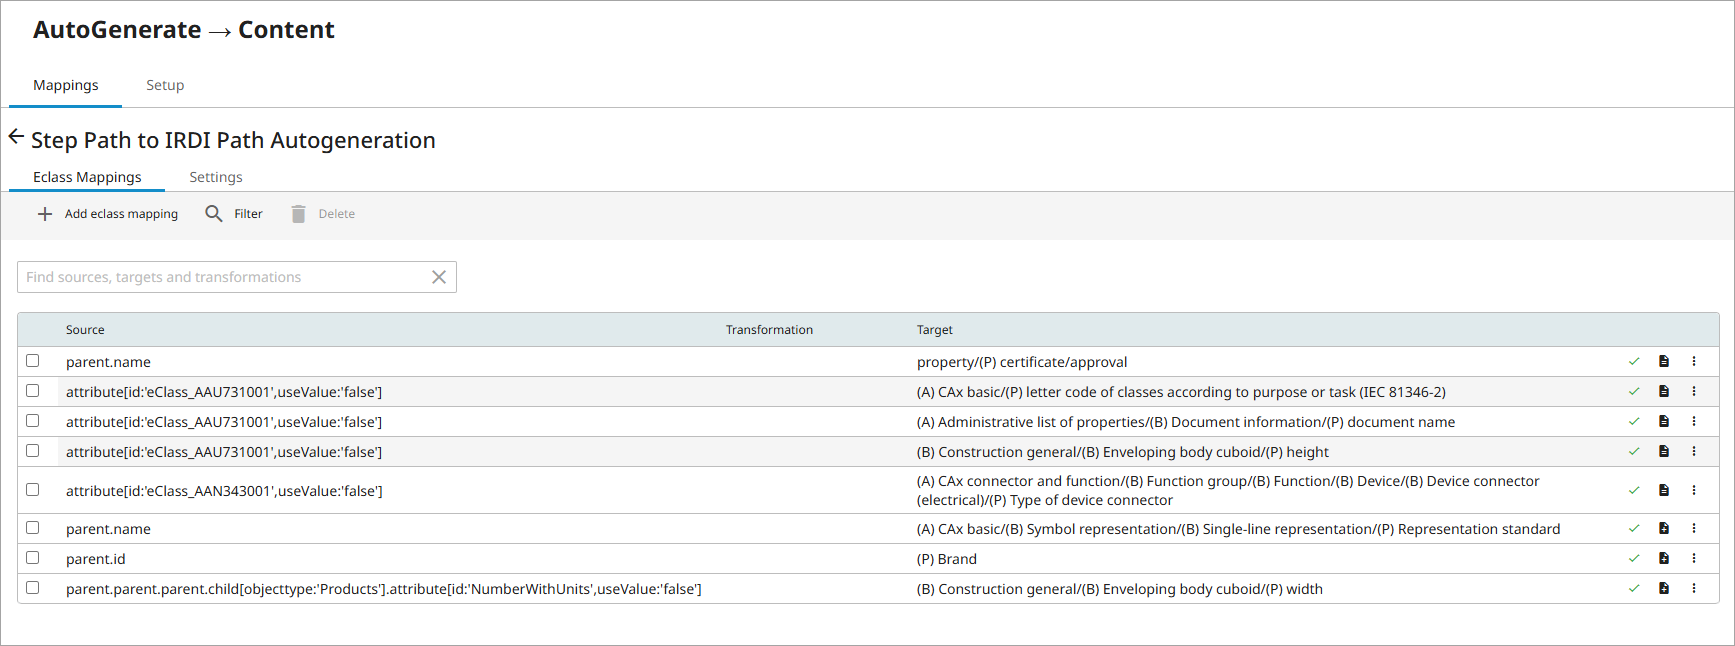
Content for products can be autogenerated based on ECLASS Advanced templates using the 'STEP Path to IRDI Path Autogeneration' mapping plugin in the Web UI. Like with other mapping plugins, mappings for a particular configuration are listed together in a table that displays the Source, Transformation, and Target of the mapping.
It is recommended to create a new Onboarding Mapping Details screen to ensure that only the mapping plugins that support autogeneration display. Also, consider configuring a new Global Navigation component for this purpose as it will make it easier to find the autogeneration configurations in the system. For more information, refer to the Configuring Data Onboarding Solution topic.
To configure the 'STEP Path to IRDI Path Autogeneration' mapping plugin, follow these steps:
-
With the required Mapper Configuration selected
-
Navigate to the Mappings tab of the Onboarding Mapping Details screen.
-
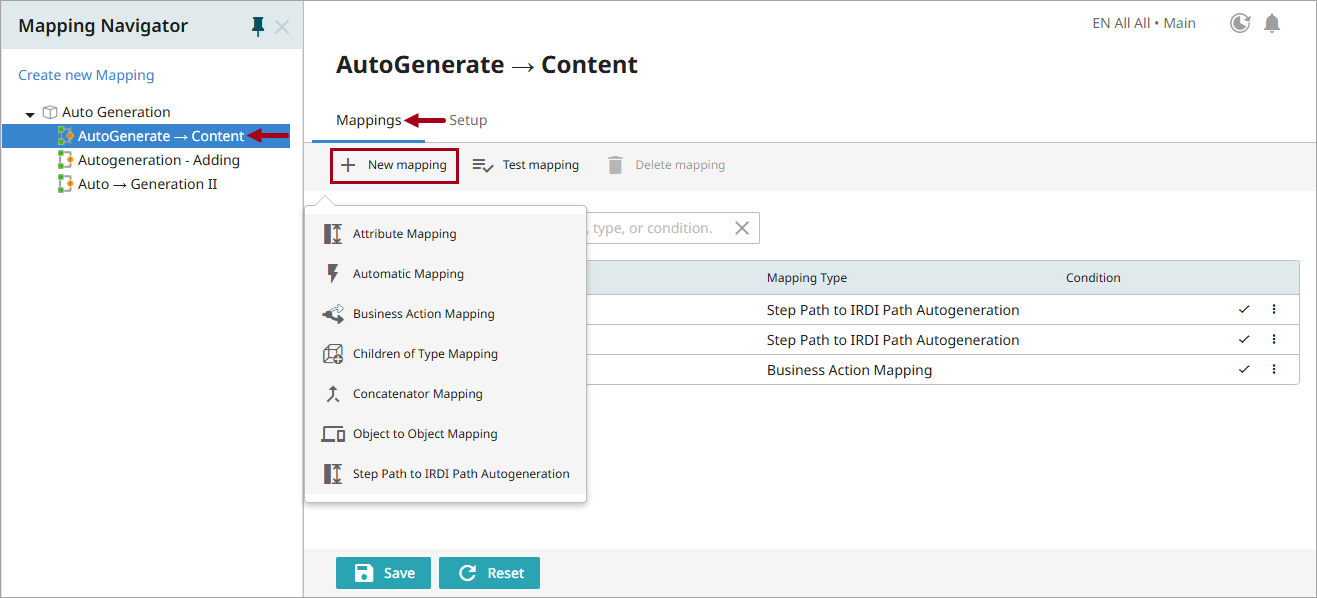
Click the 'New mapping' button.
-
Select STEP Path to IRDI Path Autogeneration.
-
-
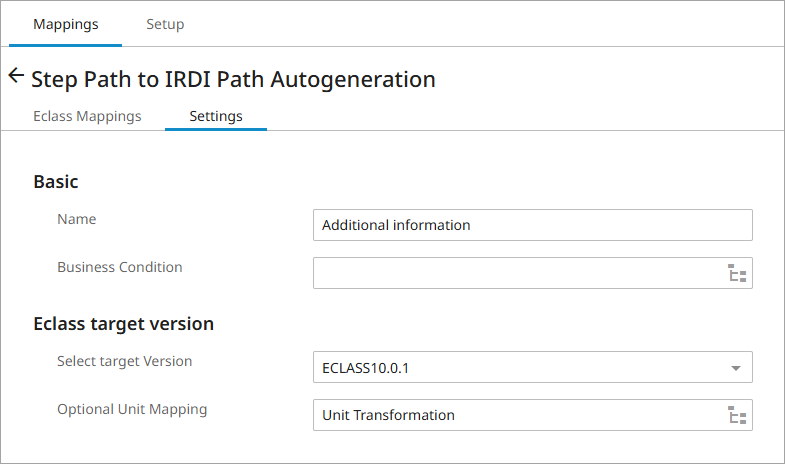
In the Settings tab:
-
In the 'Basic' section, enter a name for the configuration and specify the relevant business condition.
-
In the 'Eclass target version' section, select the target version and an optional unit mapping.
-
-
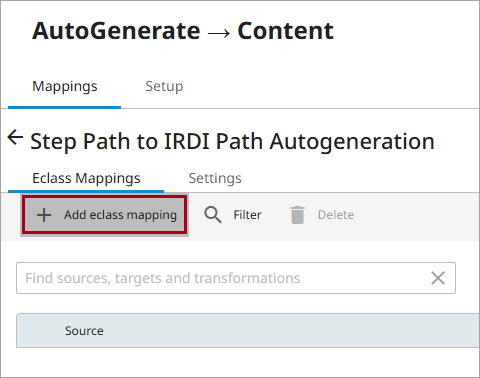
In the 'Eclass Mappings' tab, click 'Add eclass mapping' to create a new mapping for the configuration.
-
To add a source, in the Mapping Guide section, on the Mapping tab, click the 'Edit STEP Path Component' icon. For more information on the STEP Path component, refer to the STEP Path Component topic.

-
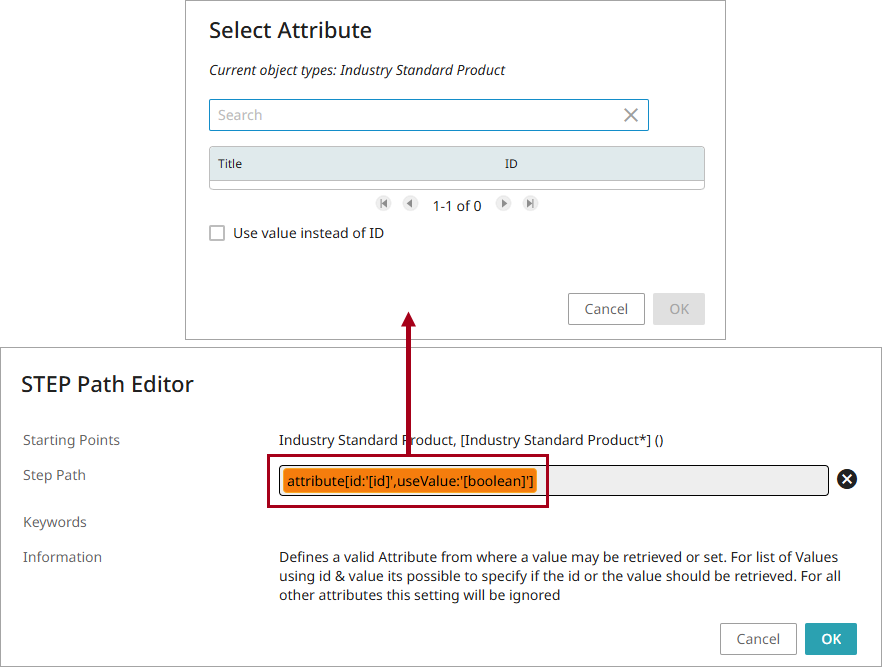
In the STEP Path Editor dialog that displays, select the relevant keywords for the 'Step Path' field. Click OK once the desired selections have been made.
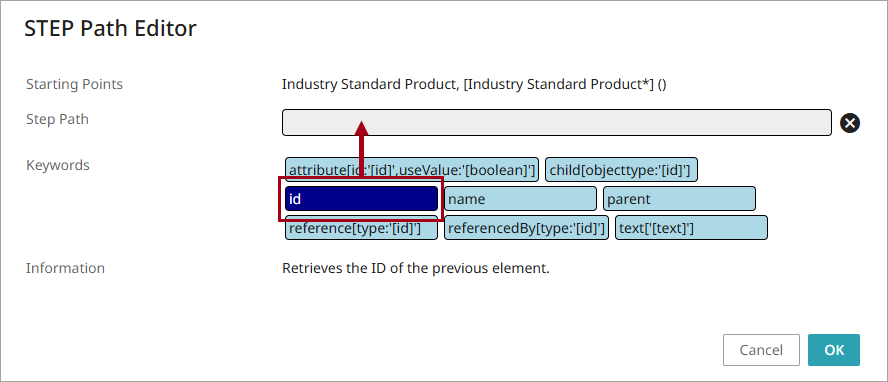
Some keywords may require you to specify a value. To do this, once the keyword has been added to the 'Step Path' field, click on it and select or enter the value in the dialog that appears.
-
To add a target for the mapping, in the Mapping Guide dialog, click the Edit IRDI Path icon.
Note: A target version must be specified in the Settings tab before configuring a target for the mapping.
-
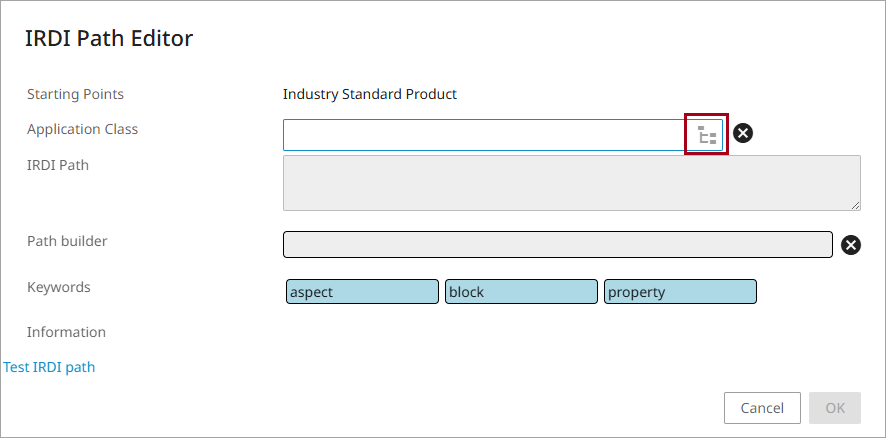
In the IRDI Path Editor dialog that displays, select an Application Class from the selector buttonnode picker.
-
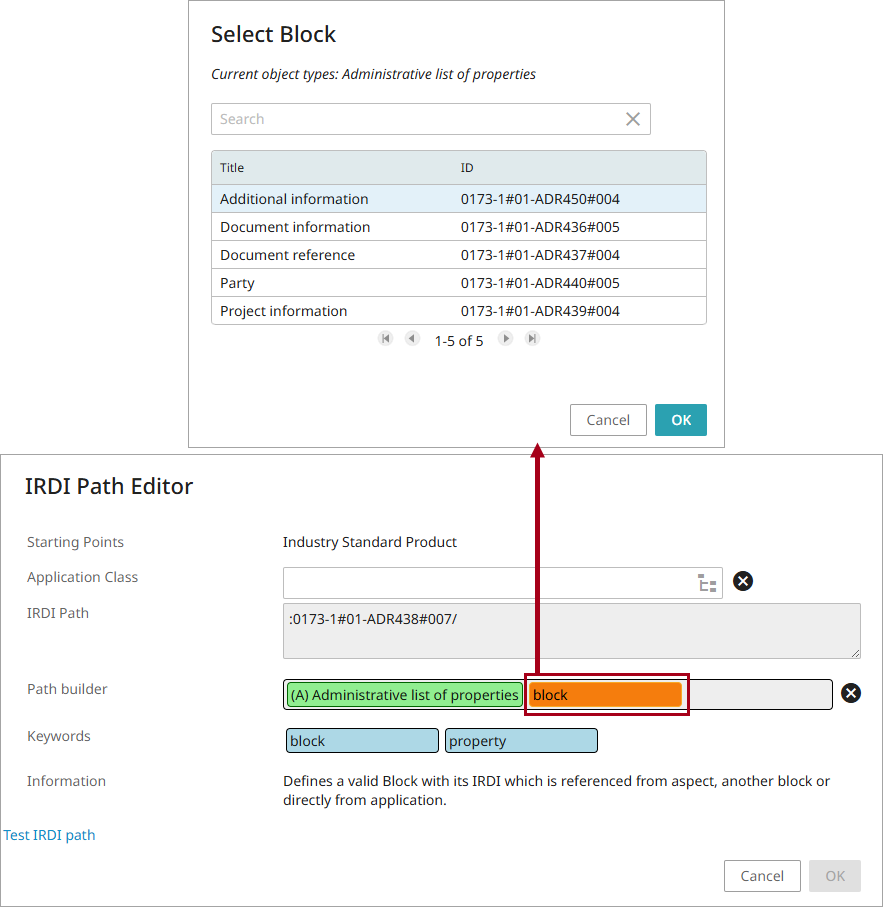
To build the IRDI Path, click on relevant keywords to add them to the 'Path builder' field.

-
Once keywords are in the 'Path builder' field, click on each keyword to specify values via the dialog that displays. The IRDI Path field will automatically generate an output based on the selected keywords and their values. Click OK once the desired selections have been made.
-
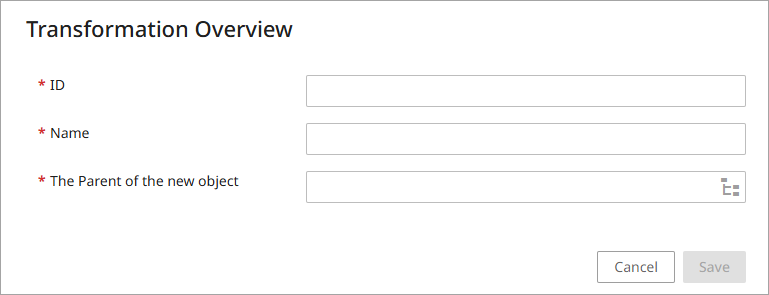
To add a Transformation to the mapping, in the Mapping Guide dialog, either select an existing transformation from the list or click the 'Create new transformation' icon to create a new one.
To create a new transformation, in the Transformation Overview dialog that displays, specify the ID, name, and the parent of the new object.
-
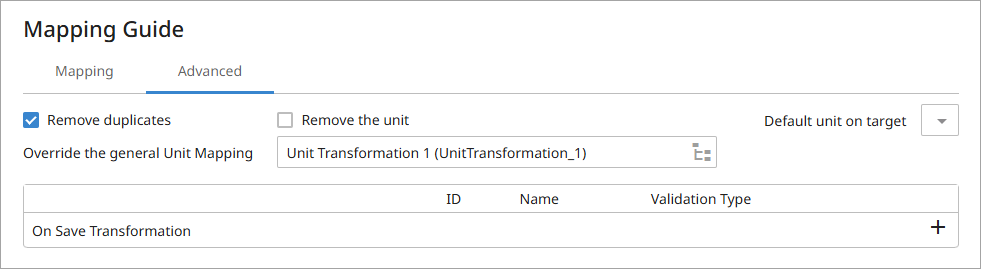
On the Advanced tab of the Mapping Guide dialog:
-
For the 'Remove duplicates' checkbox, check to ensure that only one value of any of the identified duplicates is populated in the target attribute.
-
For the 'Remove the unit' checkbox, check to ensure that the unit is not included in the output.
-
For the 'Default unit on target' parameter, from the dropdown, optionally select a default unit for the output.
-
For the 'Override the general Unit Mapping' parameter, select a transformation to override the Optional Unit Mapping configured in the Settings tab of the mapping configuration.
-
-
On the Mapping tab of the Mapping Guide dialog, click the OK button to complete the configuration.