Scheduling a bulk update with collections is useful for a group of objects that needs to be updated on a regular basis. The scheduled collection can save time instead of performing it manually. For example, if all current accessory references should be removed before a group of objects is implemented into a workflow.
The following tasks must be completed before a collection is scheduled to run a bulk update.
The steps below explain how to schedule a bulk update using collections.
To perform a bulk update on a collection at regular intervals, create a schedule that applies to that particular collection. The bulk update is then automatically run at the scheduled time.
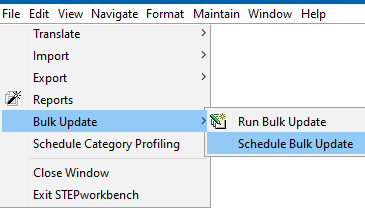
Start the Bulk Update wizard
Setup
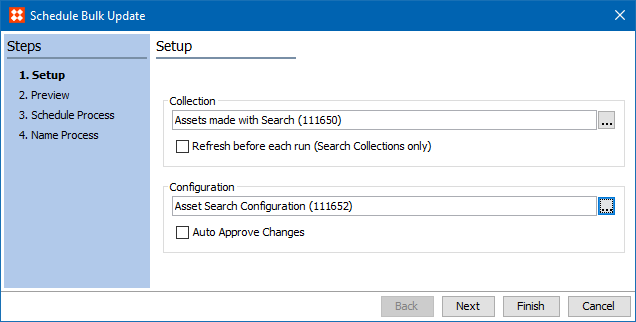
 ) to locate and select the relevant collection. This option is not valid if the collection is created by going to File > Bulk Update > Run Bulk Update.
If the collection selected was created using the search criteria, and the Refresh before each run (Search Collections only) checkbox is selected, it will refresh the collection based on the current data in STEP using search criteria, before executing the bulk update operation(s).
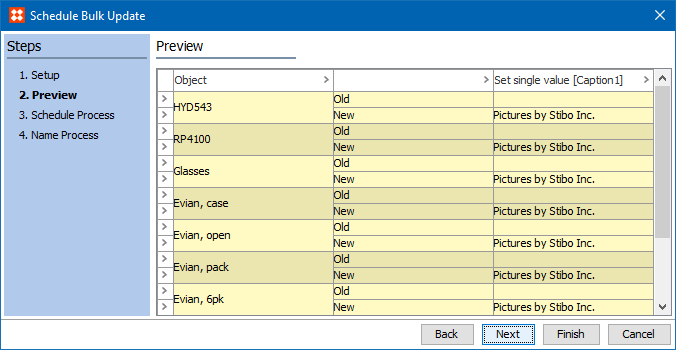
) to locate and select the relevant configuration. Preview
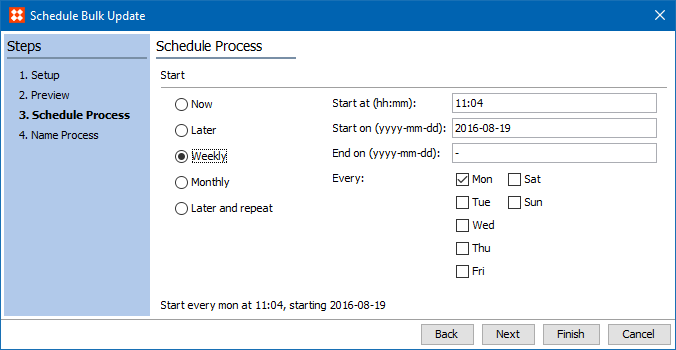
Schedule Process
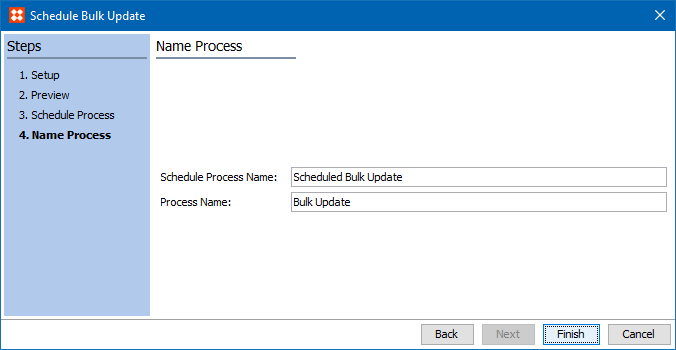
Name Process
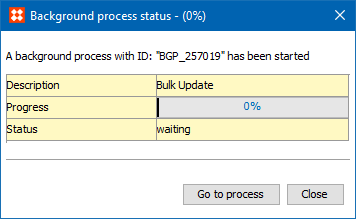
Run the Background Process
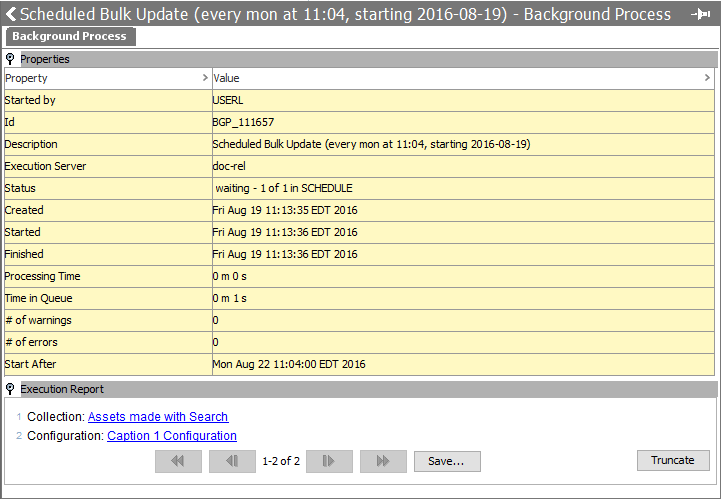
The Execution Report shows the process with a Status of 'waiting.'
2018, Stibo Systems – Confidential