Open topic with navigation
Configuring a Deduplication Clerical Review
A clerical review is the process of manually examining pairs that are not clear duplicates or non-duplicates.
During matching, objects that score between the clerical review threshold and the auto threshold are placed in a clerical review workflow. The potential duplicates from the clerical workflow are then displayed in a Web UI where you can review them manually.
Note: This documentation assumes that you are familiar with STEP Web UI design. If you are new to designing Web UIs, we recommend that you review the Web User Interfaces / Getting Started documentation first here.
For more information about creating a workflow, see the Workflows documentation here.
Note: For details on configuring the Web UI for Merge Golden Record clerical reviews, see the Matching and Merging in Web UI section of the Matching, Linking, and Merging documentation here.
Log in to the Web UI, and then click the gear wheel icon  to enter design mode.
Create and Configure the Deduplication List
You must place the deduplication list inside a tab page.
- Click New, and then select the Node Details screen type.
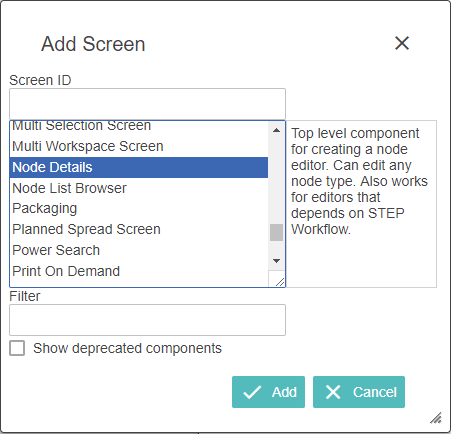
- Enter a Screen ID and click OK.
- In the Child components area, in the Main list, select Tab Control.
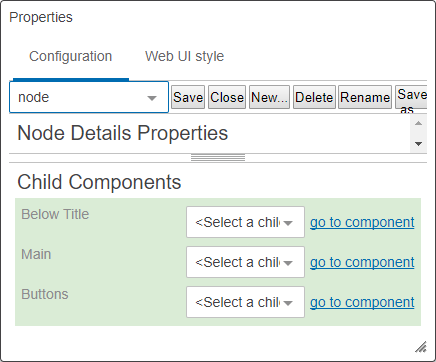
- Click go to component to configure the Tab Control component.
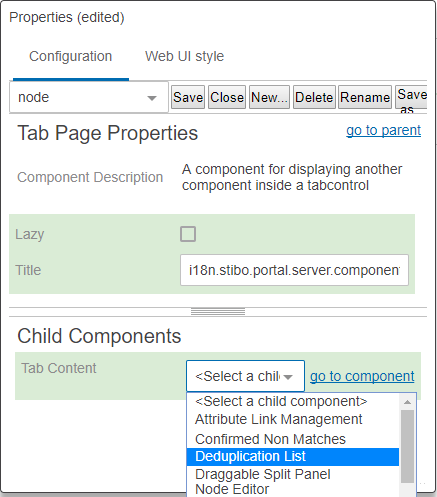
- Add a Tab Page to the Tab Control.
- On the Tab Page, set Tab Content to Deduplication List.
-
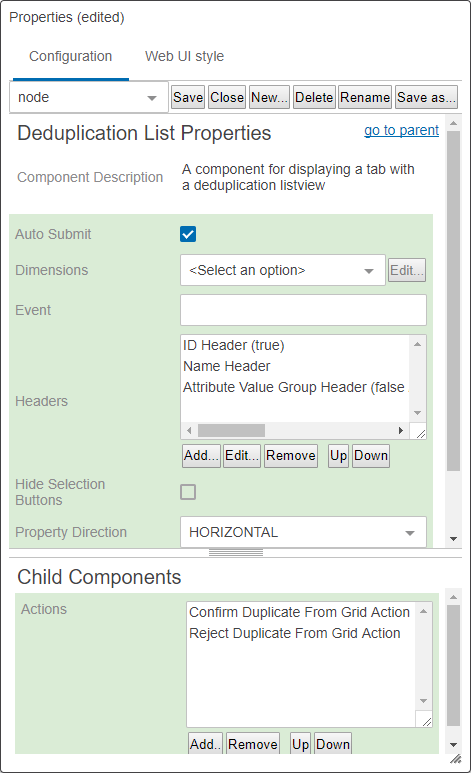
Click on 'go to component' to configure Deduplication List Properties.
- In Headers, click Add, and then select the attribute headers you want to use for the list. Choose meaningful headers that will assist the user with confirming or rejecting potential duplicates.
- Select Auto Submit if you want the task to be automatically submitted when all duplicate candidates have been confirmed or rejected.
- If you selected Auto Submit, in the Event field, specify the workflow event to use after auto submit.
-
Select the Hide Selection Buttons option to hide selection buttons such as, ‘Select All’, ‘Show Details,’ etc.
-
Select the Property Direction option if you want to display the data based on the selection from the dropdown. If Horizontal is selected then columns will be displayed horizontally. If Vertical is selected, then columns will be displayed vertically. If no option is selected, then by default it will be displayed as horizontal.
-
Select 'Show Group Headers' if the attribute group headers should be displayed.
-
Select 'Use Immediate Save' option if you want to save the entered / changed data automatically without clicking the 'Save' button.
- In the Child components area, click Add, and then select the actions Confirm Duplicate From Grid Action and Reject Duplicate From Grid Action.
- Click Save to save the changes.
The 'Hide Equal' and 'Mark Different' actions will automatically appear alongside any other actions configured on the Deduplication List. For more information, see the Comparing Data Using Hide Equal and Mark Different section of the Web User Interfaces / Using a Web UI documentation here.
To Specify Node Details Buttons
- Select the Node Details screen you just created.
- In the Child component area, from the Buttons list, select Buttons.
- Click go to component.
- In the Child component area, click Add, and then select the Submit Action.
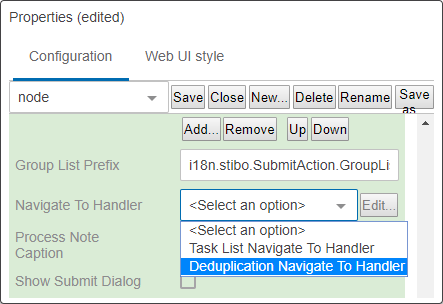
- Double-click the Submit action. The Submit Action Properties window appears.
In this window, you can specify where the Web UI navigates to after the Submit action. You do this by setting up a Navigate To Handler. If you cannot see the Navigate To Handler list, drag the sizing handle until you can see all properties.
- In the Navigate To Handler list, select Deduplication Navigate To Handler.
-
Deduplication Navigate To Handler Properties screen will be displayed.
- In the Matching Algorithm ID field, specify the ID of the relevant matching algorithm.
- In State ID, enter the review state of the clerical review workflow, and then click Save.
To Create a Task List
The next step is to create a screen to hold the Clerical Review task.
- Click New, in the Add Screen window, select Task List, and then click Add. The Task List Properties window appears.
- In the Child component area, in the Node List, choose Node List and click go to component.
- In the Node List Properties window, in the ID field, enter an ID for the Node List, and then click Add.
- In the Task List Properties window, in the Child components area, click go to component. The Node List Properties window appears.
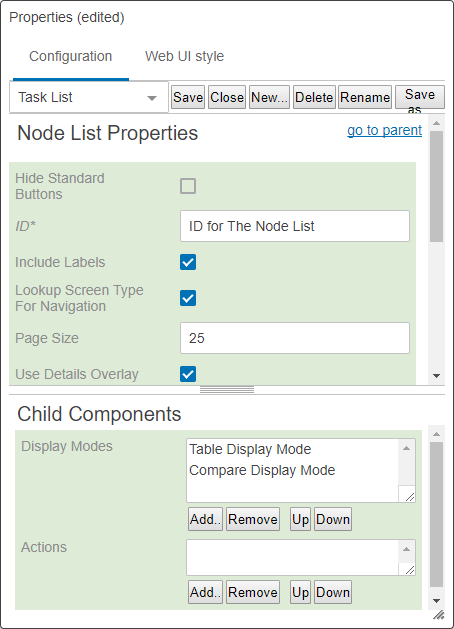
- In the Child components area, in Display Modes, click Add.
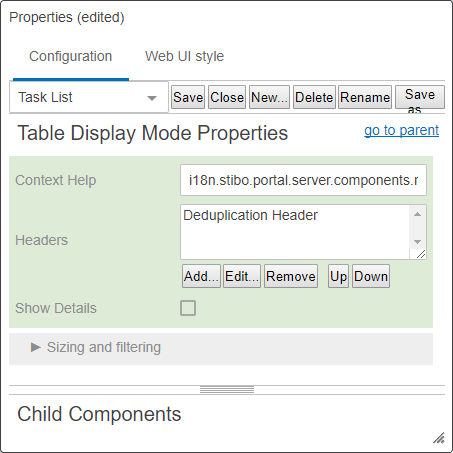
- In the Add component window, choose Table Display Mode, and then click Add.
- Double-click Table Display Mode and edit the table properties. For Headers, click Add, and then select Deduplication Header. This header generates the link to the deduplication screen. Add any other headers that you want to use for the list. Choose headers that are meaningful to the users.
- Click go to parent. The Node List Properties dialog appears again.
Continue to follow the bullets under step 5 to add additional Display Modes (e.g., Compare Display Mode).
- Back in Node List Properties, enable Use Details Overlay to make processing Clerical Review tasks a quicker process. Enabling this parameter means that when after a users clicks either the Confirm Duplicate or Reject Duplicate buttons from the deduplication screen, the user is returned to the clerical review task list after each update, instead of returning to the homepage. Additionally, the clerical review task list is refreshed after each update for confirm or reject action, removing items that have been addressed.
- Click Save.
For information about individual table properties, see 'Tables and Lists' in the 'Web UI component configuration reference' available at [system]/webui/docs for more information.
To Specify Mappings
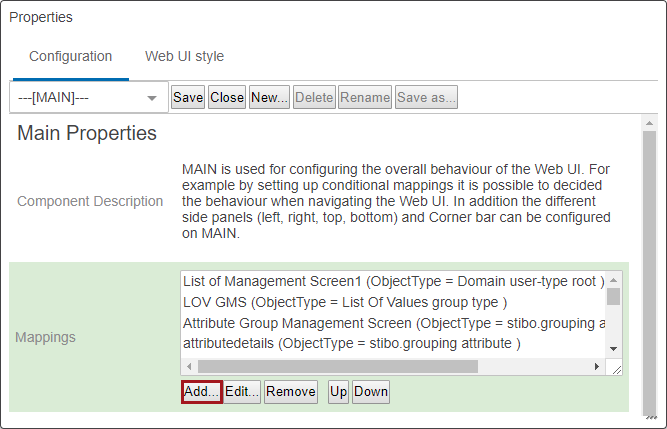
- From the screen list, select Main to go to the main screen of the designer.
- In Mappings, click Add.
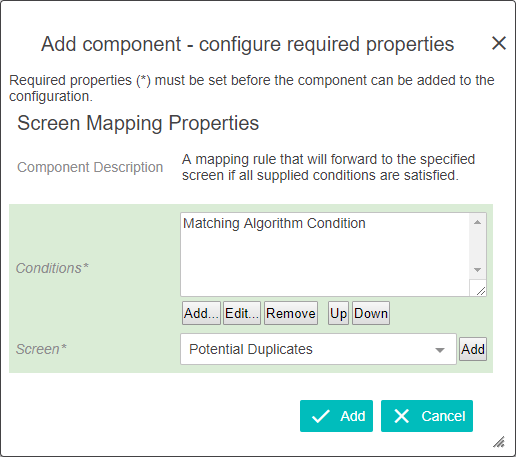
- In the Screen Mapping properties window, in Conditions, click Add.
- Select the Matching Algorithm condition, and then click Add.
-
Double click on the Matching Algorithm to configure the Matching Algorithm Condition Properties.
Note: Matching Algorithm must exist to select in Matching Algorithm Condition Properties screen.
- In the Screen list, select the screen you created for deduplication, click Add, and then click Save.
- In the Mappings list, select the mapping you just created, and then click Up to move the screen mapping higher up in the list. Next you will create another mapping.
- In Mappings, click Add.
- In the Screen Mapping properties window, in Conditions, click Add.
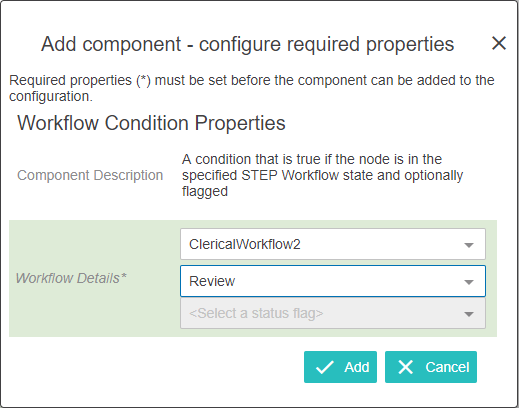
- Select the Status Selector Selection condition, and then click Add. The Status Selector Selection Condition properties window opens.
- In the Workflow list, select the clerical review workflow.
- In the Select a state list, select the start state of the clerical review workflow, click OK, and then click Add.
- In the Screen Mapping properties window, in the Screen dropdown list, select the Task List screen you just created, and then click Save.
- In the Mappings list, select the mapping you just created, and then click Up to move the screen mapping higher up in the list.
2018, Stibo Systems