The Create Page Template wizard helps you create a page template with the measures you prefer.
The wizard walks you through four steps.
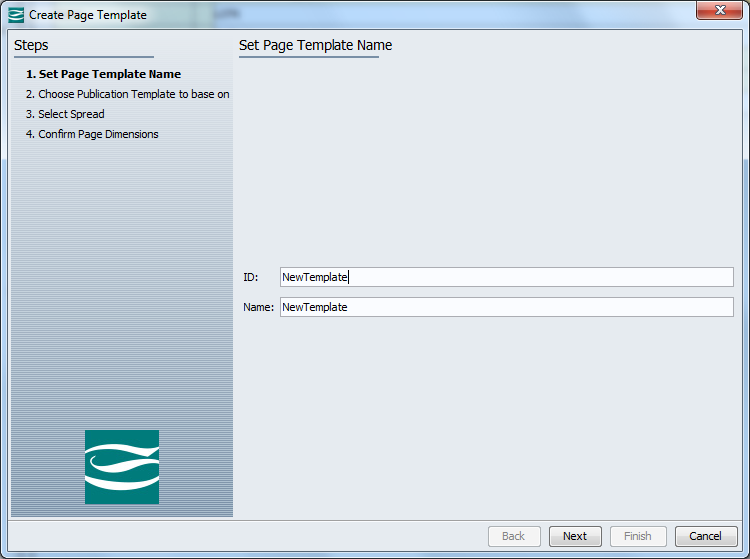
On the first screen of the Create Template wizard, you specify the name of the template. Enter the ID and Name of the new page template, and then click Next.
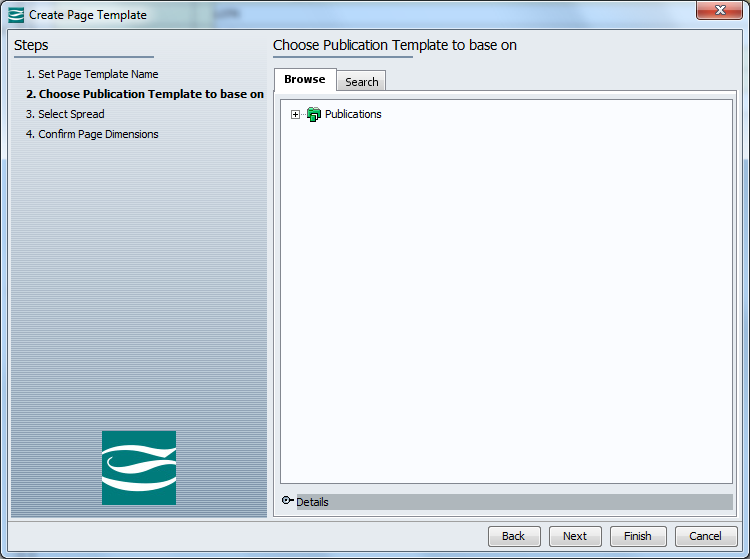
In the next step, you choose the publication template that you want to base the page template on. Expand the Publication hierarchy to locate the preferred template. Alternatively, use search to find the preferred template. Click Next.
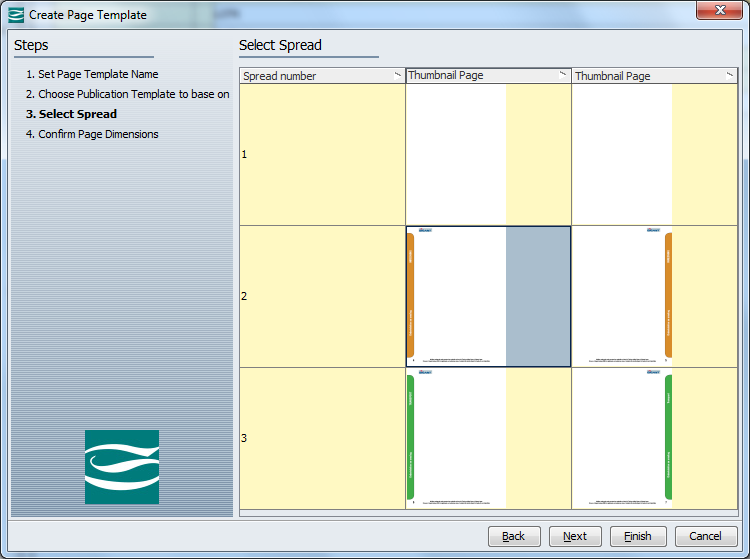
On this screen, you select the relevant spread in the publication template, from which you want to inherit the page size and margins. A thumbnail of each available spreads is displayed. Click Next.
The final step of the Create Template wizard provides an overview of the page size and margins of the new page template. You can change any of the measures.
Click Finish to create the new page template. The new page template is placed in the Tree below the publication group you initially selected.

Note: You can change the margins of the page template later, but you cannot change the page size of the page template once the page template has been created.
2017, Stibo Systems