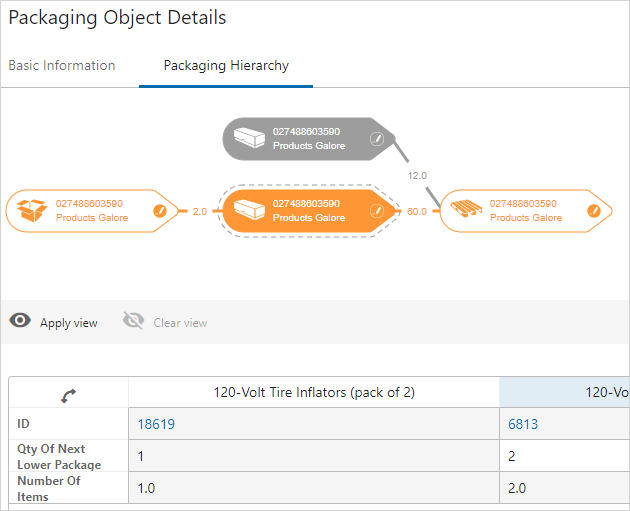
When the Packaging Hierarchy Editor has been configured to display in Web UI, it is possible to view and edit packaging hierarchies. When set up and used correctly, the Packaging Hierarchy Editor looks similar to the following screenshot:
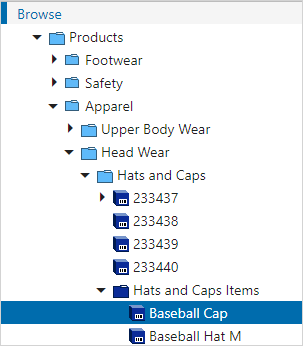
Opening the Packaging Hierarchy Editor can be done by selecting an object or a packaging type from the Tree or from on a product details screen.
For the Packaging Hierarchy Editor to display, the packaging hierarchy for a selected object type needs to be configured in the Component Model. For more information about the Component Model configuration, refer to the Configuring the Packaging Component in STEP Workbench topic.
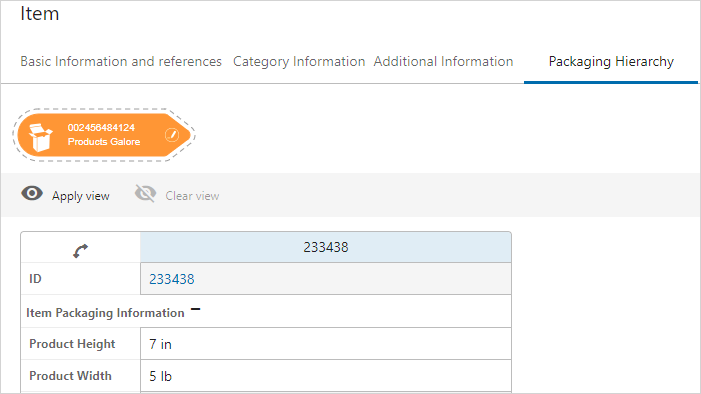
When configured properly the Packaging Hierarchy Editor will display the packaging hierarchy for a selected item or packaging type. If the selected item is not included in a packaging hierarchy, only the selected item will be represented in the Editor as shown below and the table will only have one column:
Create or Modify a Packaging Hierarchy
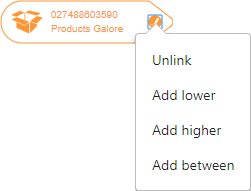
- To create a packaging hierarchy for the selected item or to create an additional hierarchy for the item, the user can click on the edit button on the right side of the icon and select the configured actions. In the example, available actions are: Add lower level, Add higher level, Add between level, or Unlink.
- When adding levels to a hierarchy, it is best to build the hierarchy upward (e.g., from item to pallet).
- To use the 'Add level between' feature, the user must be on an orange icon.
- The lower, higher, and between levels may show differently on an end user's screen depending on what titles these options were configured with.
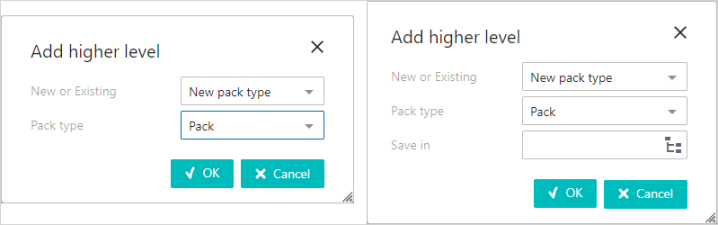
- When adding a level, a dialog box with the available packaging types will appear. It is only possible to select the valid packaging types that have been set up in the workbench and in accordance with the references between the packaging types. If a new pack type is chosen, then it is possible to select the Packaging Product Folders folder / folders by using 'Save in' (either by dropdown selection or Node Picker - depending on the configuration set up for Packaging Properties).
If only one folder is configured for the Packaging Product Folders parameter and the Packaging Properties Node Picker option is disabled, the new packaging type will automatically be saved in the designated folder. The 'Save in' option will not display.
Note: It is also possible to create new actions for maintaining the Packaging Hierarchy Editor by using the Extension API for full control of the behavior and logic that applies when adding and removing a level to the Packaging Hierarchy. For more information on the Extension API, refer to the Technical Documentation accessible at [system]/sdk or from the Resources section of the system's Start Page.
- After clicking the OK button, the new level is added to the graphic as well as adding a new level to the packaging hierarchy for the selected item.

- Using the 'Add higher level' feature, it is possible to create various types of hierarchy structures. The image below shows an item for which two packaging hierarchies are available:
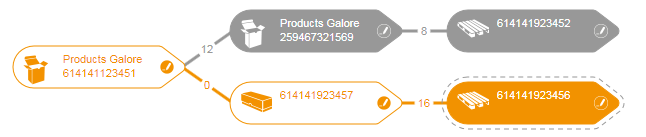
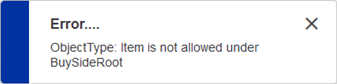
In this example, using the 'Add higher level' feature, a 'Pallet' object is added. Similarly, a 'Case' or 'Pack' object can be added using the 'Add lower level' feature. To insert between the 'Pallet' and 'Pack' objects, use the 'Add between level' feature to add a 'Case' object. Attempting to add an object without validity results in the following error:
Removing objects is possible via the 'Unlink' feature. This includes conformation before unlinking with an 'Unlink from hierarchy' dialog. Click OK to unlink, or Cancel to leave the hierarchy unchanged.

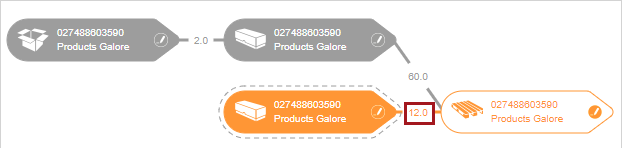
To select a particular packaging type in the hierarchy, click on the icon in the graphic and the selected packaging type will be highlighted in both the graphical view and in the table.
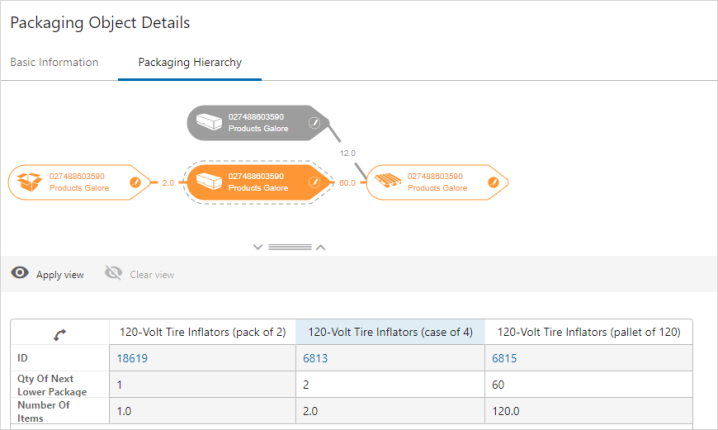
To edit the quantity (of next lower level package) attribute, click on the associated cell in the row / column. It will then be possible to change any existing value or enter a new value for that cell. Remember to save any changes. Any updated or added values will be changed in the graphical view and Number Of Items will recalculate based on the new quantity.

Note: Number Of Items is a system-calculated number based on the quantity attribute and the hierarchy. Users cannot edit these values.
Collapsible splitter feature
The individual panels on the Packaging Hierarchy Editor screen are collapsible and expandable through the use of a collapsible splitter feature.
When the screen is configured with a horizontal split panel, a drag handle divides the panels / components on the screen. The drag handle displays a down arrowhead to the left and an up arrowhead to the right.
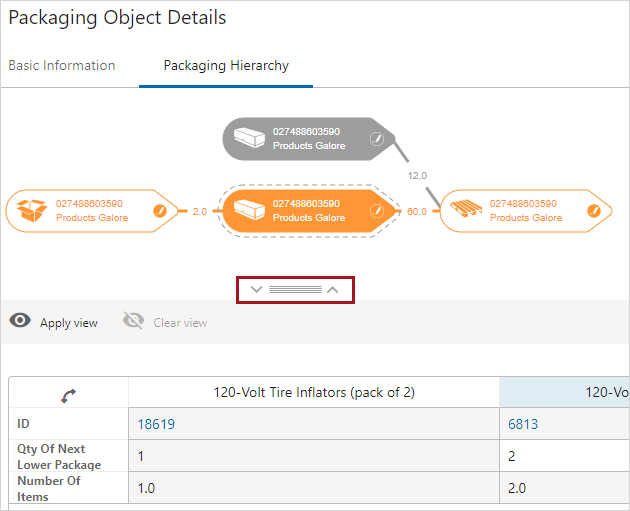
Clicking the up arrowhead removes the main component (graphical user interface) from display, allowing more screen space to focus on the Node List. This is useful if the user wants to focus on entering data in the table and no longer needs to view the packaging diagram to do so but does not want to hide the graphical user interface through the Packing Properties settings.
Clicking the down arrowhead returns the hidden component back to the screen display.
Similarly, if the user first clicks the down arrowhead, the child component is hidden from display so the user can focus on the packaging diagram.
For information about setting up the Packaging Hierarchy Editor, refer to the Configuring the Packaging Component in STEP Workbench topic and the Setting Up Packaging Hierarchy Editor in Web UI topic.