eCl@ss Classification Import
Use the following steps to start the eCl@ss import.
- On File menu > Import > click eCl@ss... to open the eCl@ss Classification Import wizard.
- For Select File, click the ellipsis button (
 ), and search or browse for the relevant eCl@ss file from your local machine, click the Select File button, and click Next.
Note: If an invalid file is selected for import, an error message prompting the user to select a valid eCl@ss XML file will appear when 'Next' is selected.

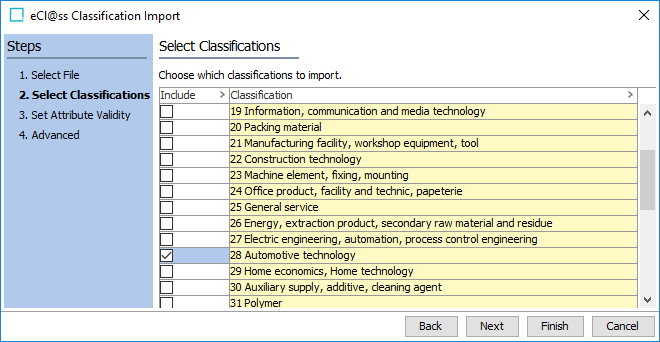
- For Select Classifications, select all classifications to import, and click Next.
- For Set Attribute Validity, select the valid product object types for the imported eCl@ss attributes. This step is optional, and only available for eCl@ss Basic XML imports.
Note: If an imported attribute already exists in the system, any selection made on this step will be added to the list of valid object types for the existing attribute.
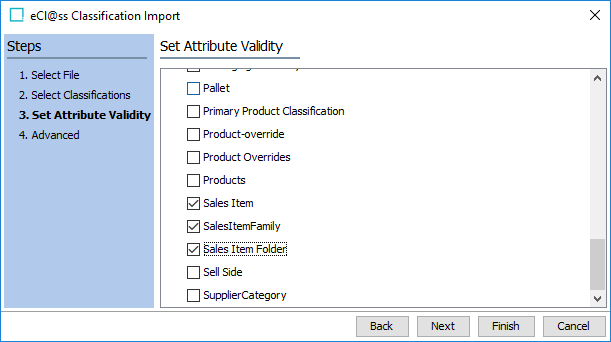
Important: If attribute validity is not set during the import it will have to be set manually later, otherwise you will not be able to maintain these attributes on linked eCl@ss products.
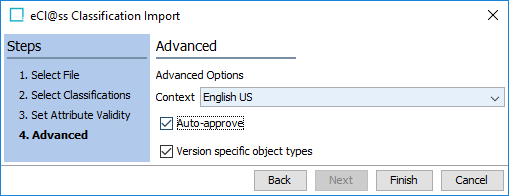
- For Advanced, select the context for the language of the eCl@ss file you are importing. Check the 'Auto-approve' checkbox if imported classifications should be approved automatically.
Click 'Version specific object types' if the importer should specify the eCl@ss version in the object types of the imported classifications. This will automatically create a new version specific object type structure for eCl@ss classifications if one does not already exist for that version.
Click Finish to begin the import.
Important: It is not possible to import a classification structure with the 'Version specific object types' option selected if classification object types have previously been created for classifications of the same version (but without this option selected). Attempting to do so will display an error in the background process and the import will fail.
- Start the import. If required, refer to the information in Running a Data Import section here.
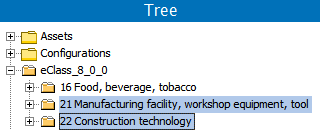
When the Import Manager Pipeline background process is complete, the newly created classification folders are displayed in the Tree.
- Only complete this last step if you will import multiple eCl@ss languages for different contexts:
- Configure the language displayed in the Tree for the eCl@ss classifications: In System Setup > Object Types & Structures > Alternate Classifications > eCl@ss Folder, for the top-level folder, set the Dimension Dependencies parameter to Language.
- Configure the language displayed for the eCl@ss attributes on the attribute editor: In System Setup > Attribute Groups > eClass Meta Attributes, for every attribute in this group, set the Dimension Dependencies parameter to Language.
- Import additional eCl@ss data: Run the import wizard again for each eCl@ss language required.