Mappings
One of the ways screens configured in the Web UI can display is through values established in the Mappings field, located on the MAIN screen in the designer.
A 'mapping' in this context refers to a direction given to the system from the admin user that a specific screen will display when the end user takes a specific action. In essence, mapping a result to an action.
For instance, a mapping can be set up that will direct the Web UI to display a 'Product Details' screen if a user stands on any object of the 'Product' super type. Mappings are powered by one or more conditions, which are the rules that tell the system which criteria must be met to activate display of a specific screen. For example, to ensure a 'Product Details' screen displays when a user stands on an object type of the 'Product' super type, users will configure an 'Object Type condition' in the mapping that establishes the mapping condition.
When a screen is created, it must be set up to display. In many cases, a mapping is the method to enable displayfor that screen must also be created, or else the screen will never display.
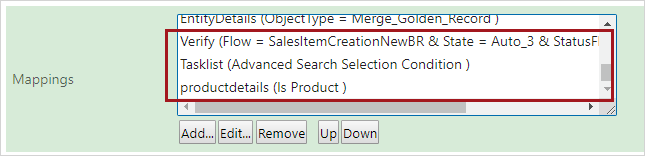
The format for the mappings that display in the 'Mappings' field (shown in the screenshot below) is the user-assigned screen title displays first, followed by the condition type that enables the mapping in parentheses. Multiple conditions can be applied in a single mapping for more.
The sequence of mappings in this field are important. When an action is taken in the Web UI, the system performs an evaluation to determine if any of the mapping conditions listed in this field have been met. When the first mapping condition in the sequence is met, the evaluation stops and the screen configured for that mapping displays. If no mappings match, then the default target screen is the Homepage. The mapping order should be set based on the requirements of the specific Web UI. Admin users should take care to avoid mapping conflicts (e.g., multiple mappings that use the same condition but different screens) as they often result in errors or unexpected UI behavior.
To demonstrate the importance of the mapping sequence, let us say a user clicks on a 'Sales Item', which is a product. A mapping is created using a 'Product Condition' that displays a 'Product Details' screen when the user stands on any product. A different, more targeted mapping has also been configured, this one with an 'Object Type Condition', which displays a 'Sales Item Screen' when the user stands on a Sales Item product-object. The expectation is that when users select a 'Sales Item' object, they will see one screen, and if they click on any other product object type, they will see a different screen. However, if the mapping that shows the more general 'Product Details' screen when standing on any product-type object has been set higher in the sequence than the mapping that shows the more specific 'Sales Item Screen' when standing on a specific product-type object, in this instance a Sales Item object, the system evaluation will end once the first encountered mapping condition has been met. The result is that when a user clicks on a 'Sales Item' object expecting to see the 'Sales Item Screen', the user will instead see the 'Product Details' screen. To correct this, the mapping using the 'Object Type Condition' to display the 'Sales Item Screen' whenever a user stands on a 'Sales Item' object should be moved higher in the sequence than the more generalized mapping for all product objects.
If a user encounters an unexpected screen when navigating Web UI, users should review the mappings to solve the issue. The condition / screen combinations and mapping sequence may be configured incorrectly.
Configuring Mappings
To configure a mapping, follow the directions described below.
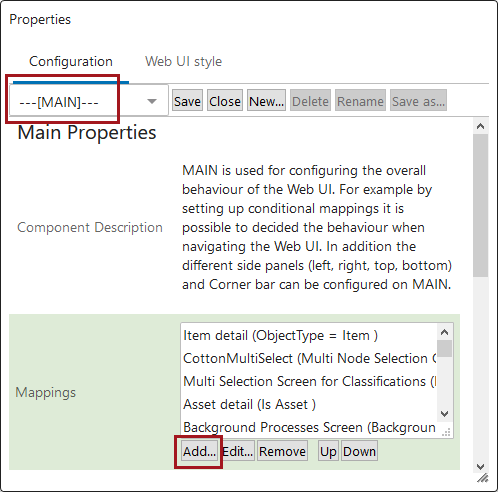
- Navigate to [MAIN] in the designer. Then click the 'Add' button under the 'Mappings' field.
- In the 'Screen Mapping Properties' window that displays, there are two parameters: 'Conditions' and 'Screen'. Both most be configured to successfully create a mapping.
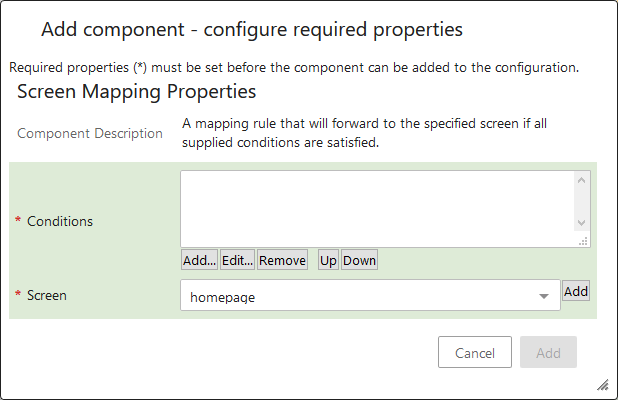
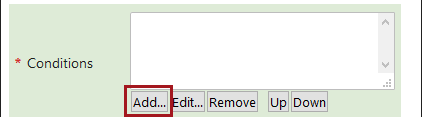
- To add a condition to the mapping, click the 'Add...' button beneath the 'Conditions' field.
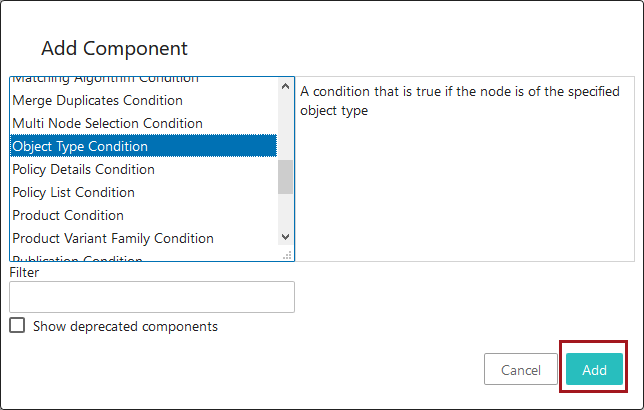
- In the 'Add Component' window that displays users will find a list of all available conditions that can be added to a mapping. To add a condition, select the desired condition and click 'Add'.
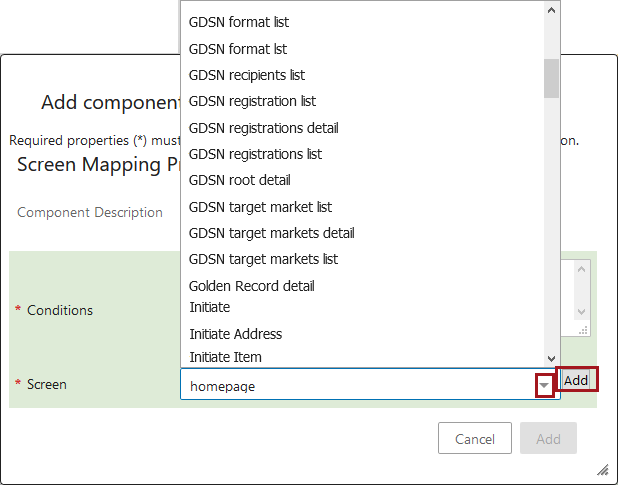
- Back on the 'Screen Mapping Properties' window, select the screen that should display when the condition has been met. To select the screen, click the dropdown to see a list of all screens that have been created in the Web UI. Users may also click 'Add' to initiate creation of a new screen that can be selected for the mapping.